
Field Configuration Per Scenario
Introduction
This tutorial explains how to configure fields for each scenario in Logiks WMS using WMS Studio. Every scenario includes a predefined set of header-level and line-level fields, and users can decide which of these fields appear in the Logiks WMS Mobile App.
Configuration
In Logiks WMS Studio, field configuration is available within the template section.
To begin, open your preferred template, navigate to the Scenarios section.
.png?inst-v=e9022e71-f72a-4010-98f8-f2e4f57cc621)
2. Select the scenario you want to configure.

After opening a scenario, the right-side panel displays all configuration options. These are organized into multiple tabs, such as:
Header– The Header section appears when entering a scenario and lets you choose which document information is displayed.
Header Sub-Page – Shows extra document details you can access by clicking a button.
Lines – Lets you choose which fields appear in the main item list.
Line Sub-Page – Provides additional item details available through a button.
Regular Item Pop-Up – Sets the fields that show up when you scan a regular item.
Serial Item Pop-Up – Adjusts the fields for items tracked by serial numbers.
Batch Item Pop-Up – Controls the fields for items tracked by batch numbers.
Header section:
Select the Header tab.

You will see the available fields on the Left side and the existing line configuration next to it.
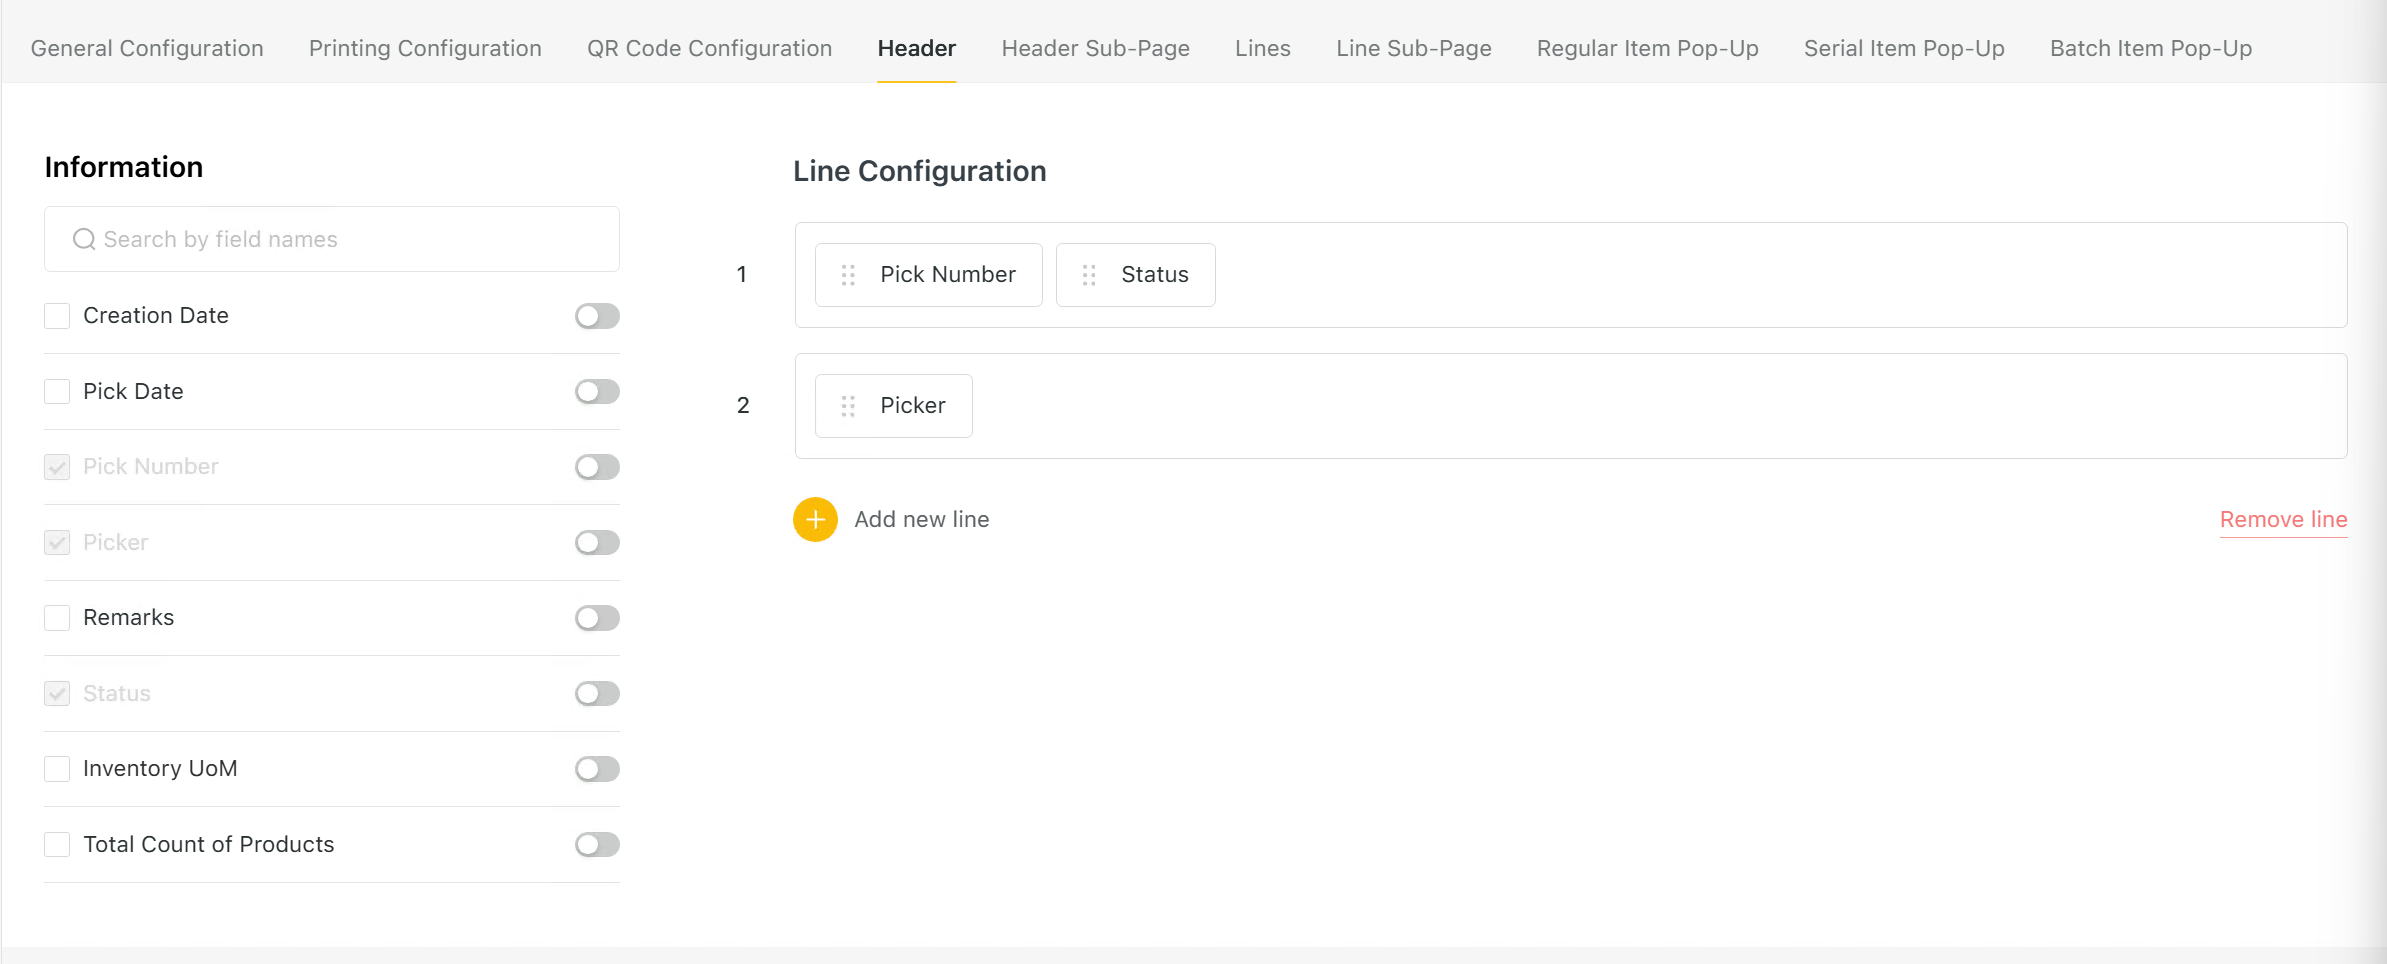
Fields that are greyed out are mandatory and cannot be deselected.
Enable any additional fields you want to display by checking the box next to them.
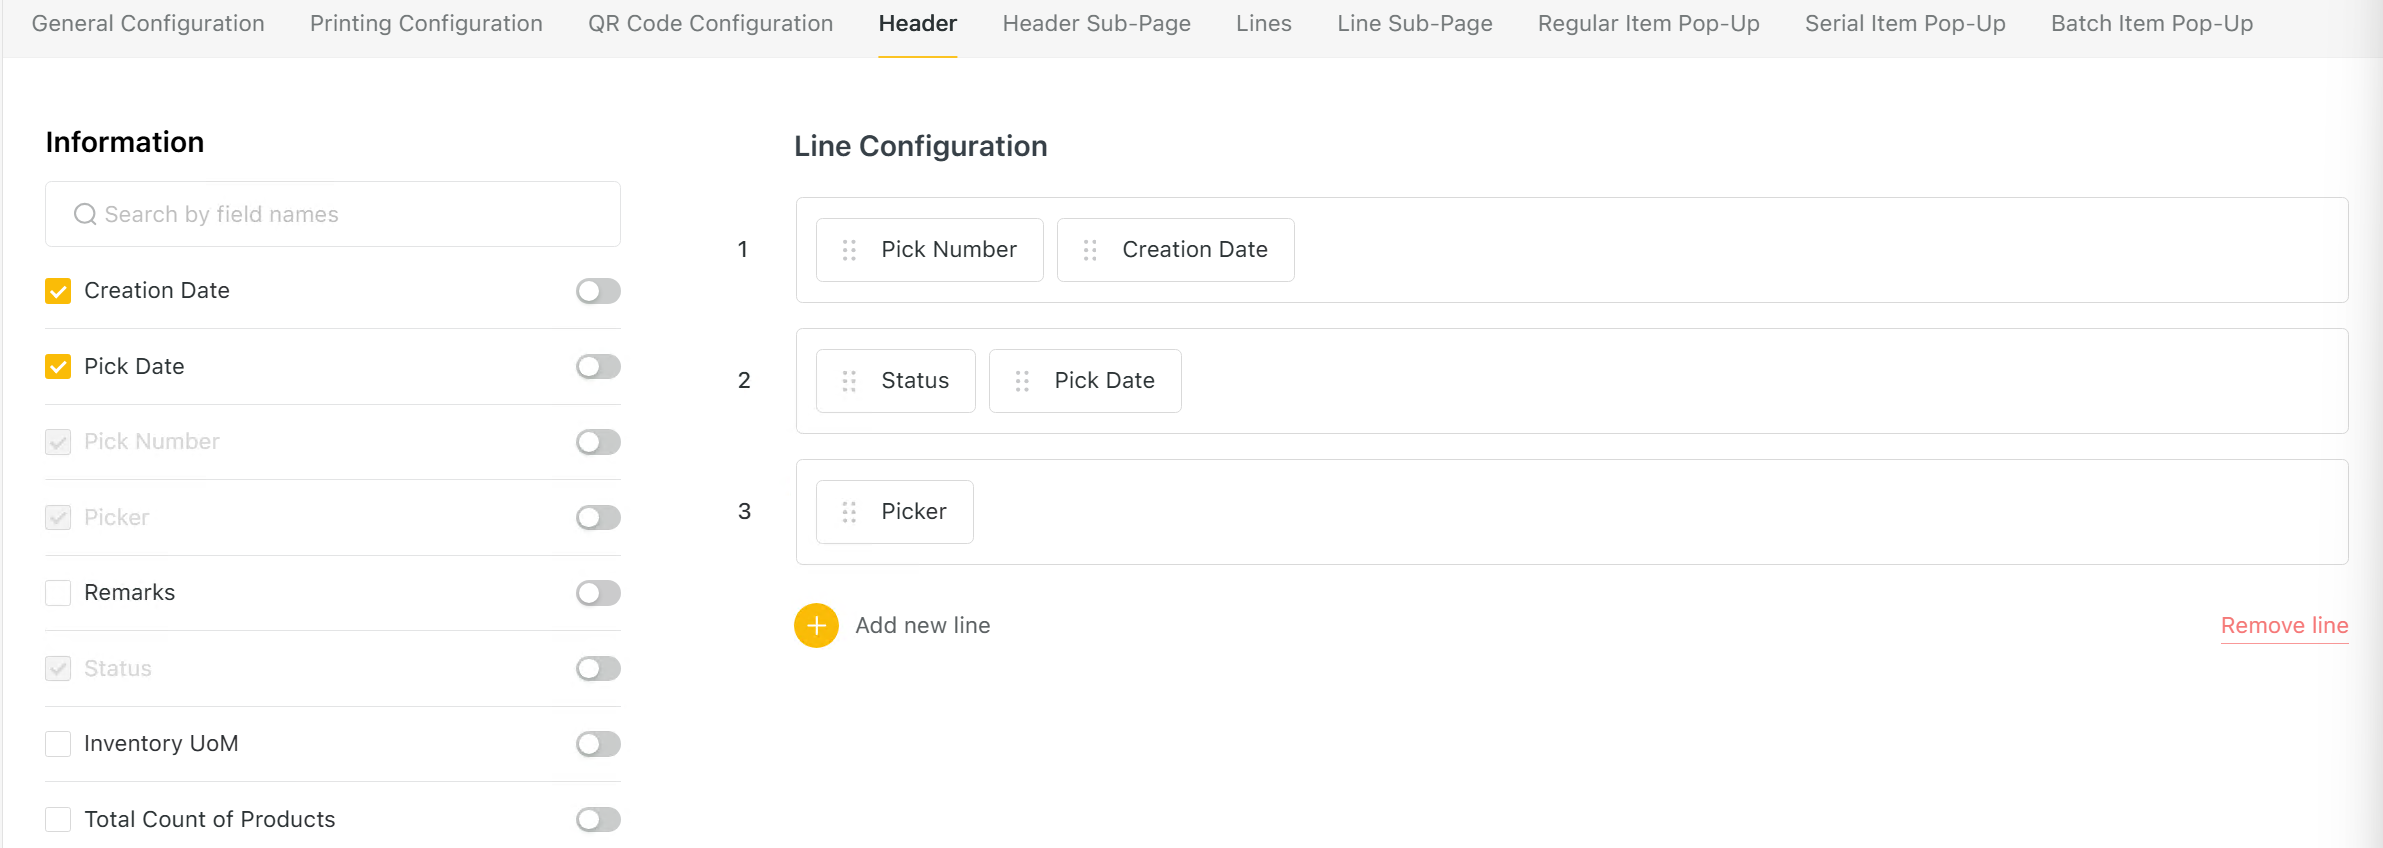
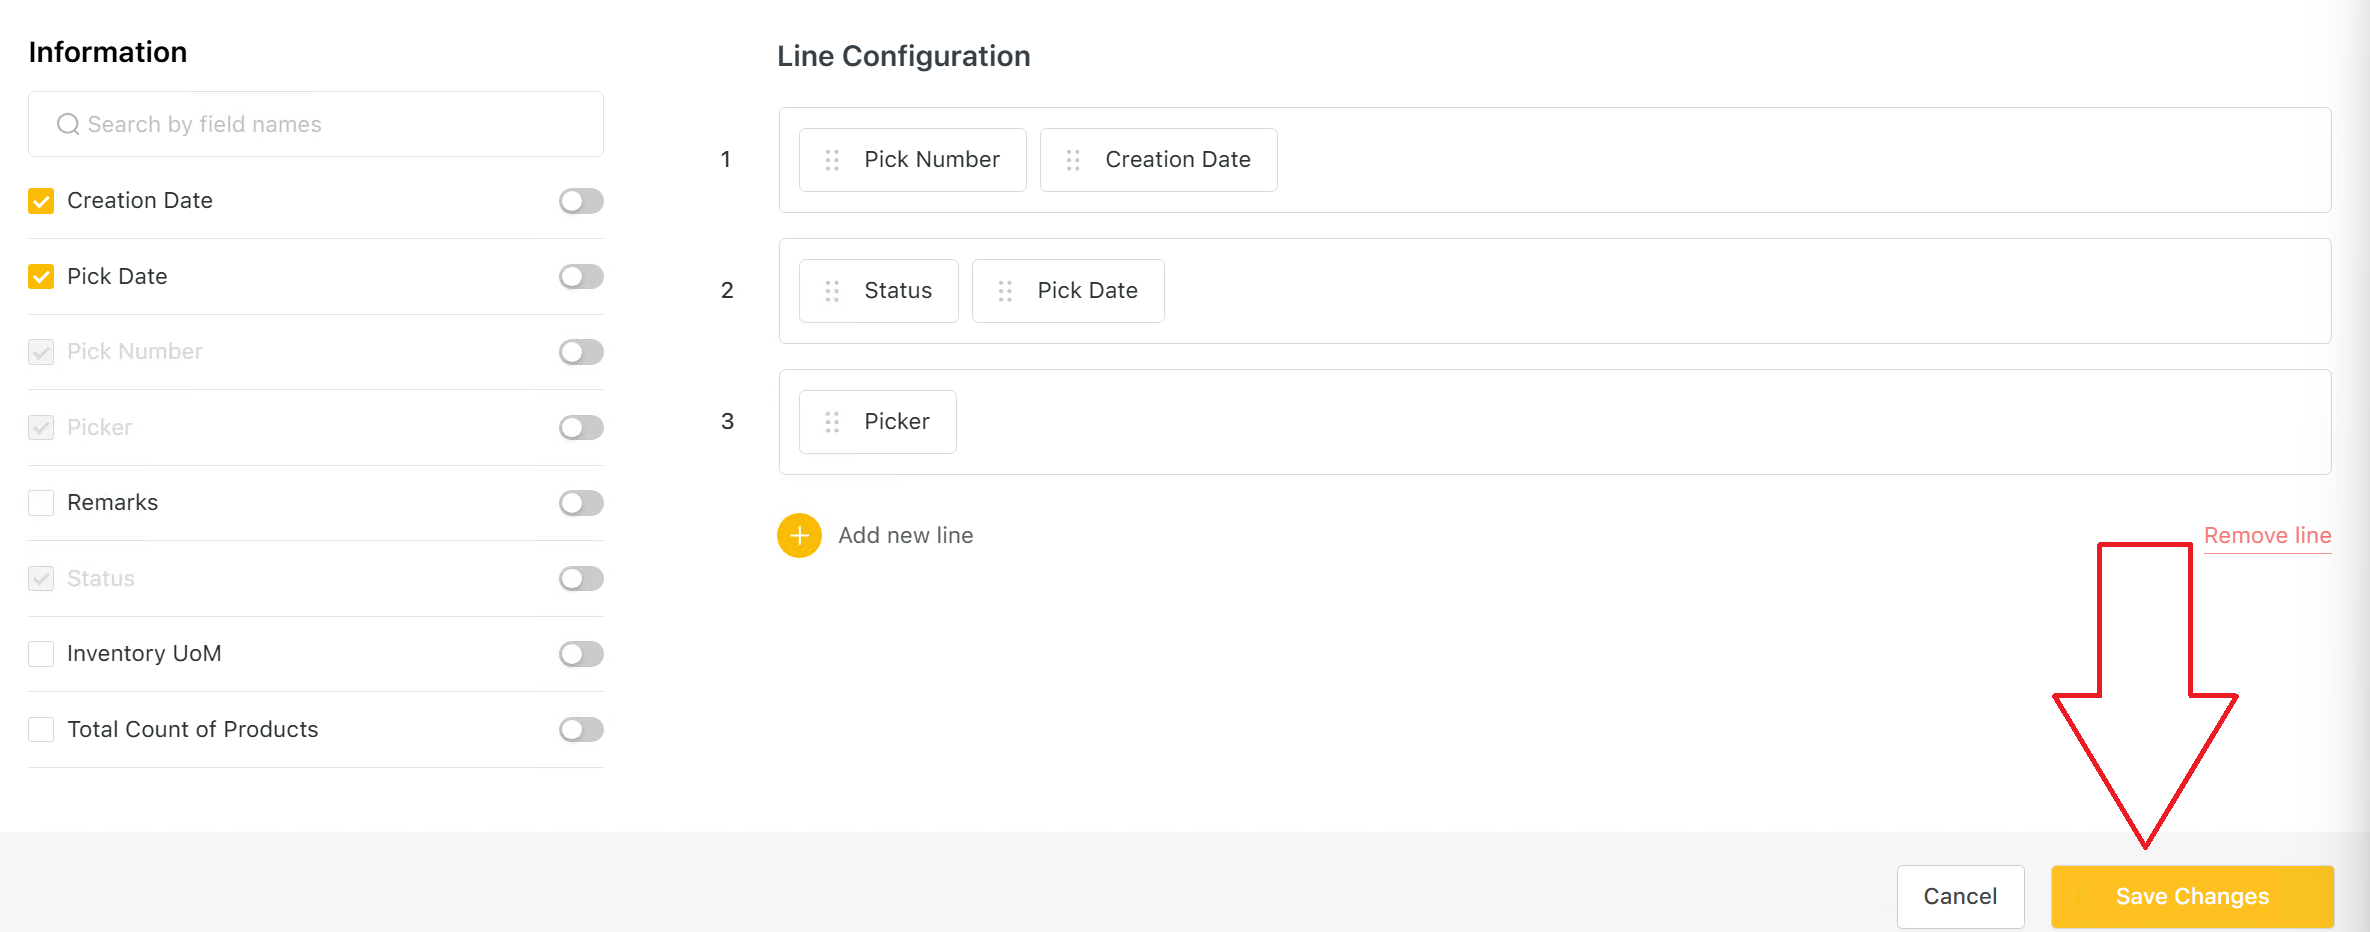
Push Save Changes.
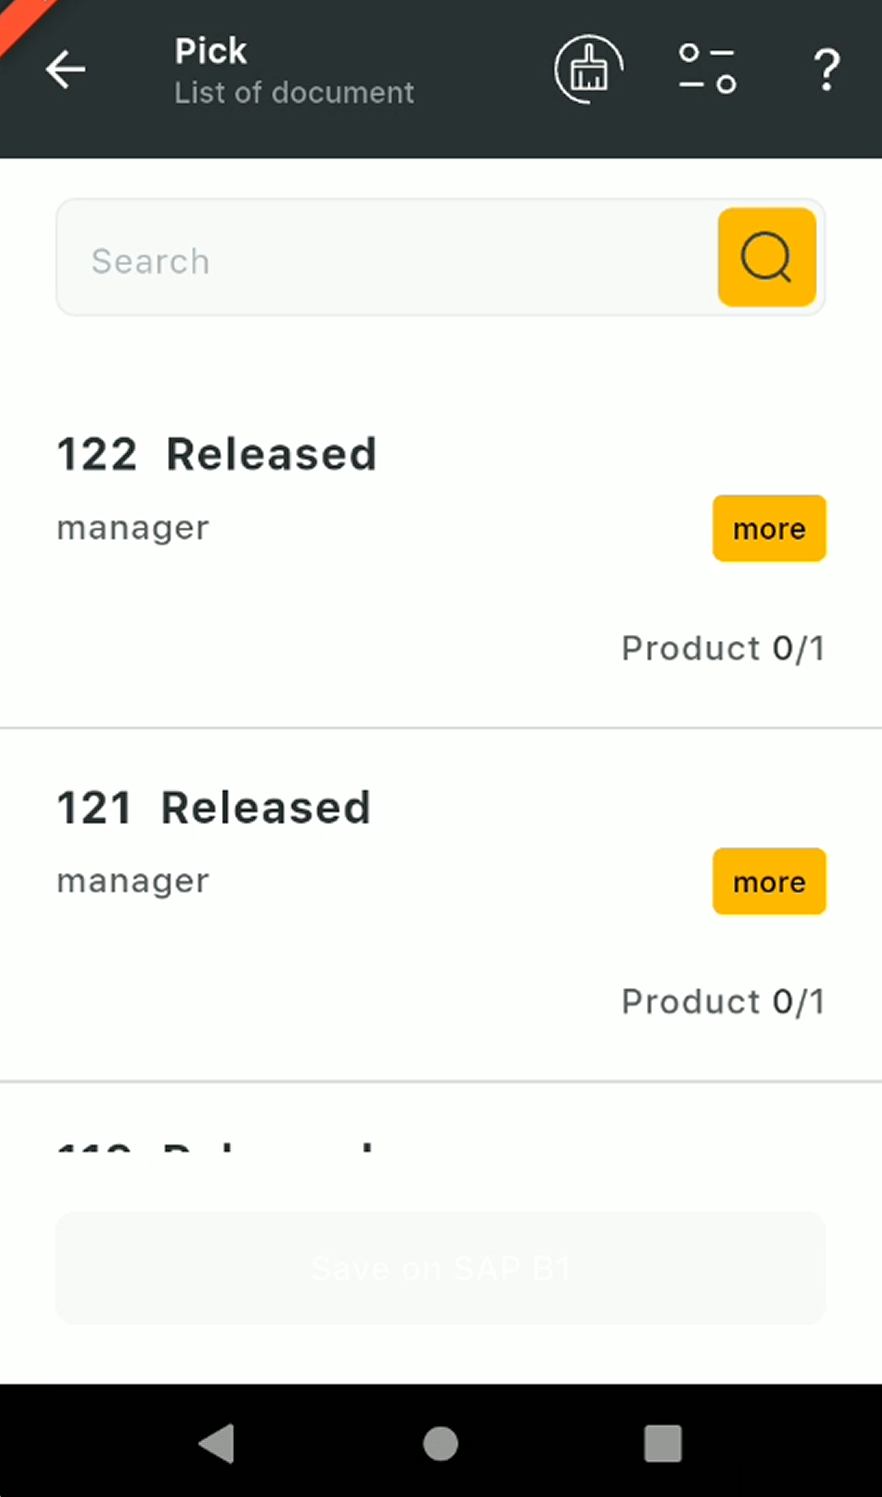
Restart the Logiks WMS Mobile app.
Check that everything is to your liking.
Before | After |
|---|---|
 | 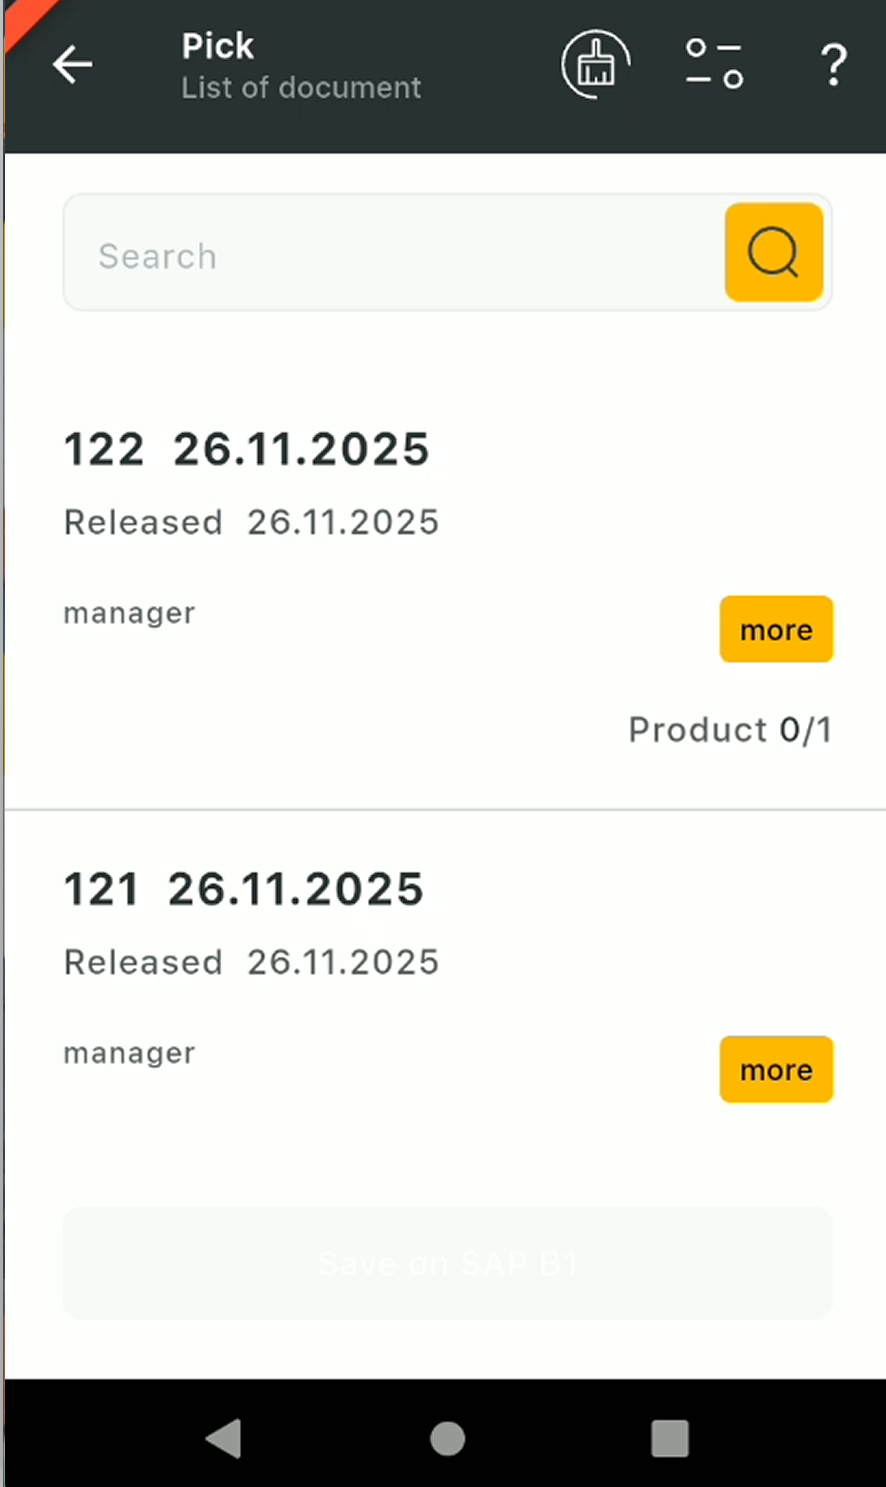 |
Header Sub-Page section
Select the Header-sub page tab.

You will see the available fields on the Left side and the existing line configuration next to it.
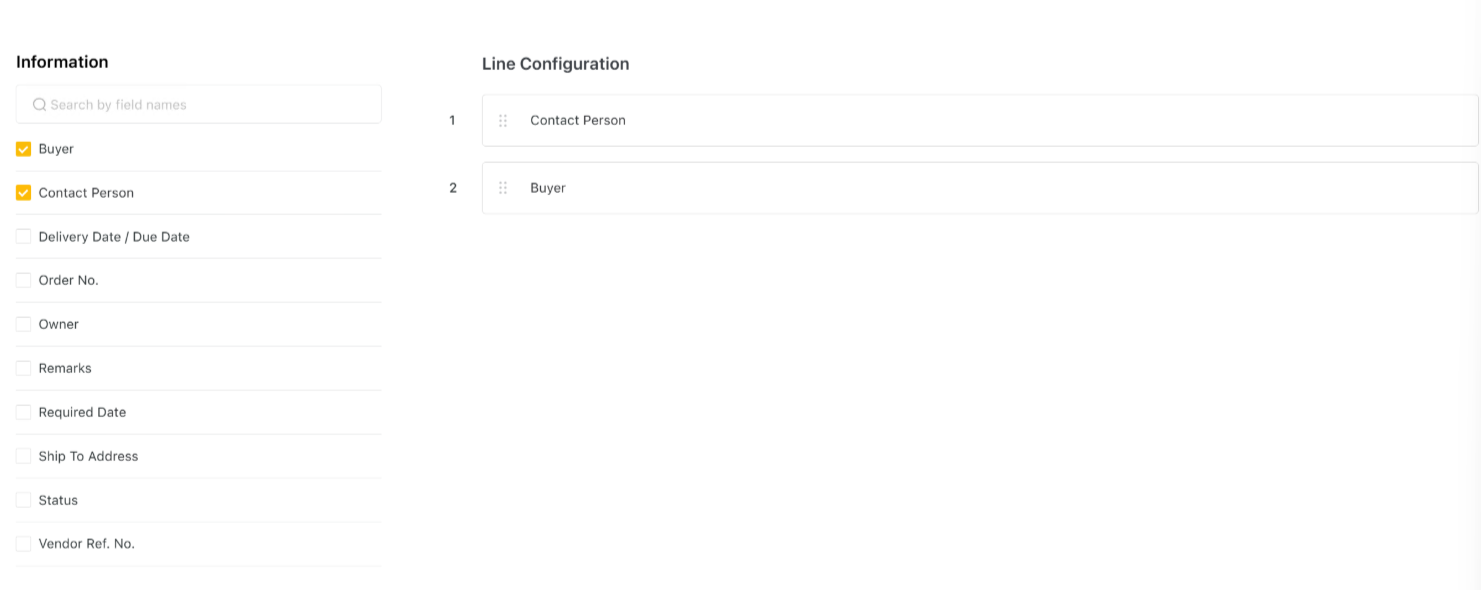
Enable any additional fields you want to display by checking the box next to them.
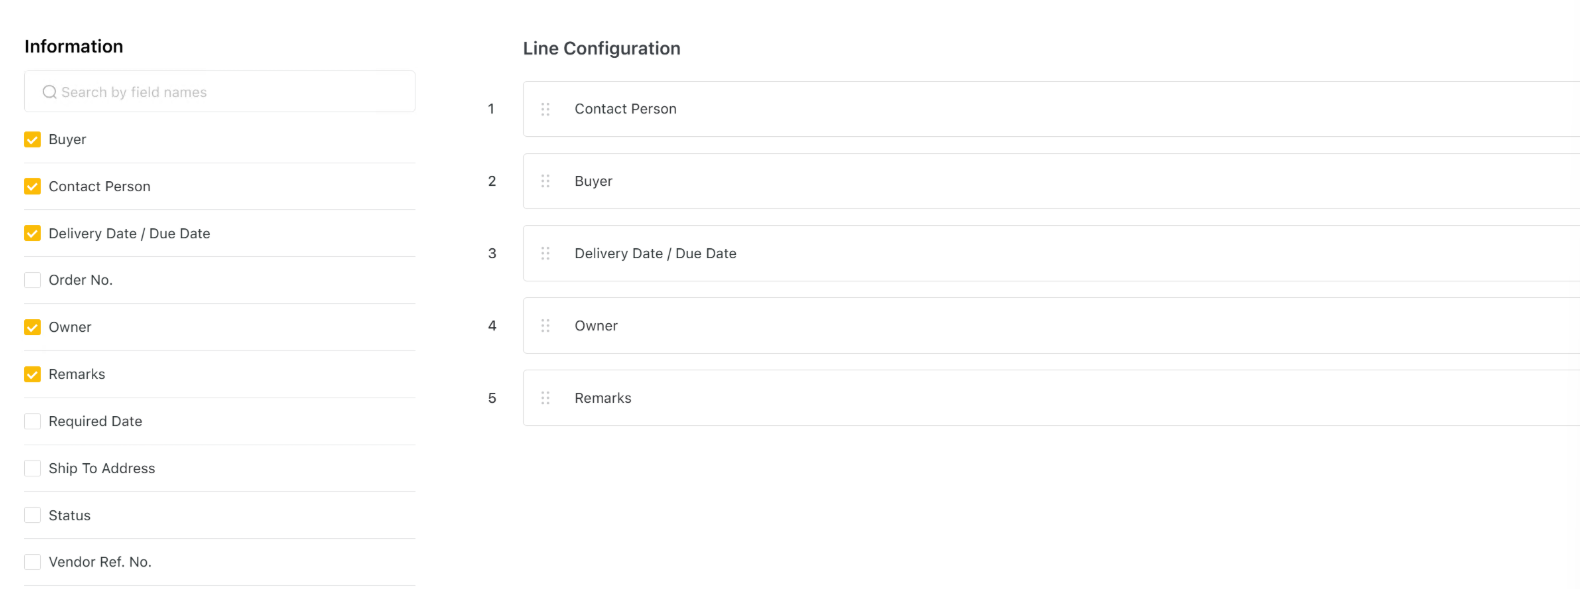
Arrange the added but clicking and dragging.
Push Save Changes
Restart the Logiks WMS Mobile app.
Check that everything is to your liking.
Before | After |
|---|---|
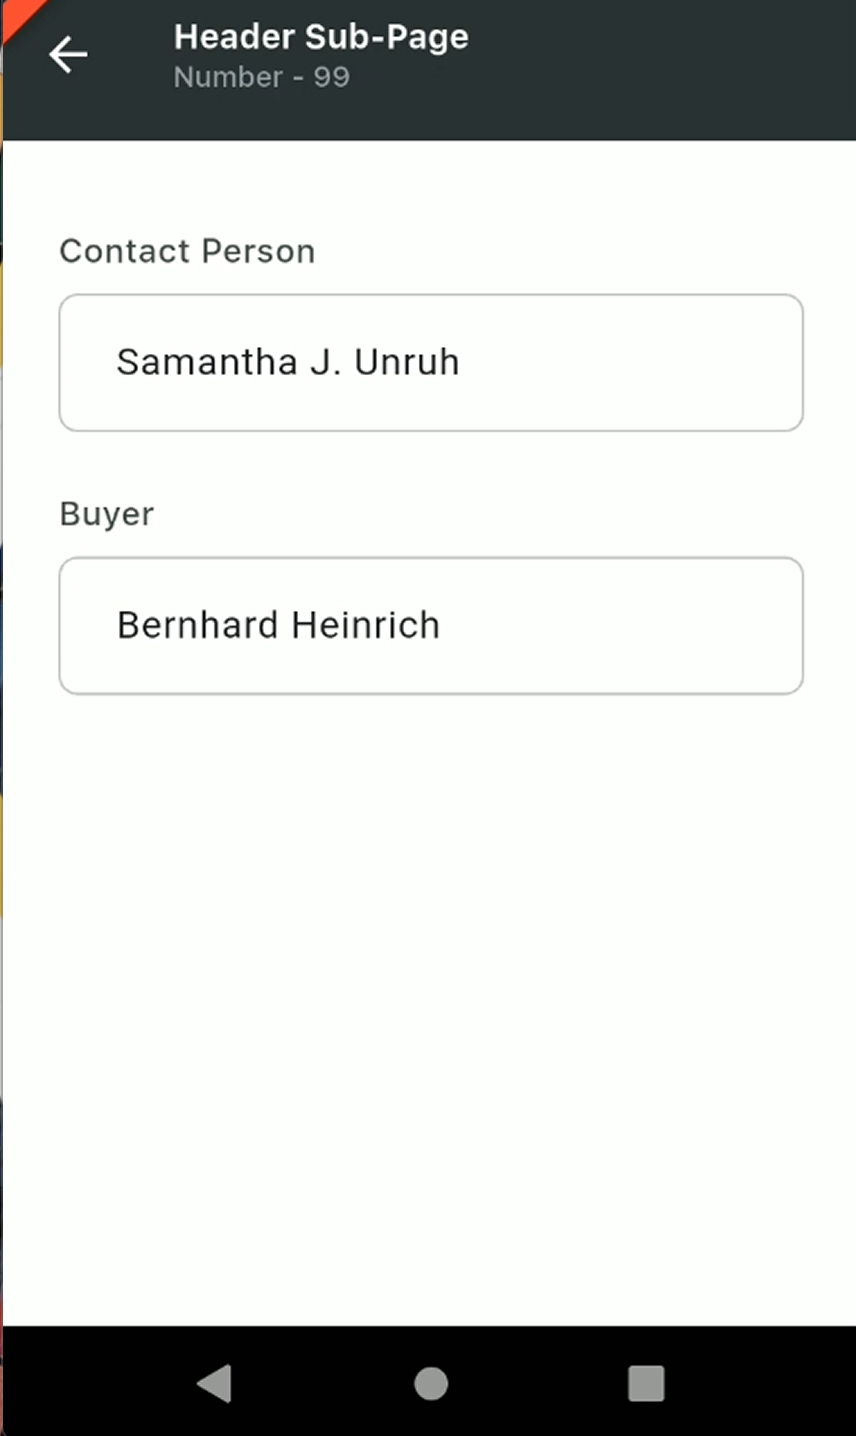 | 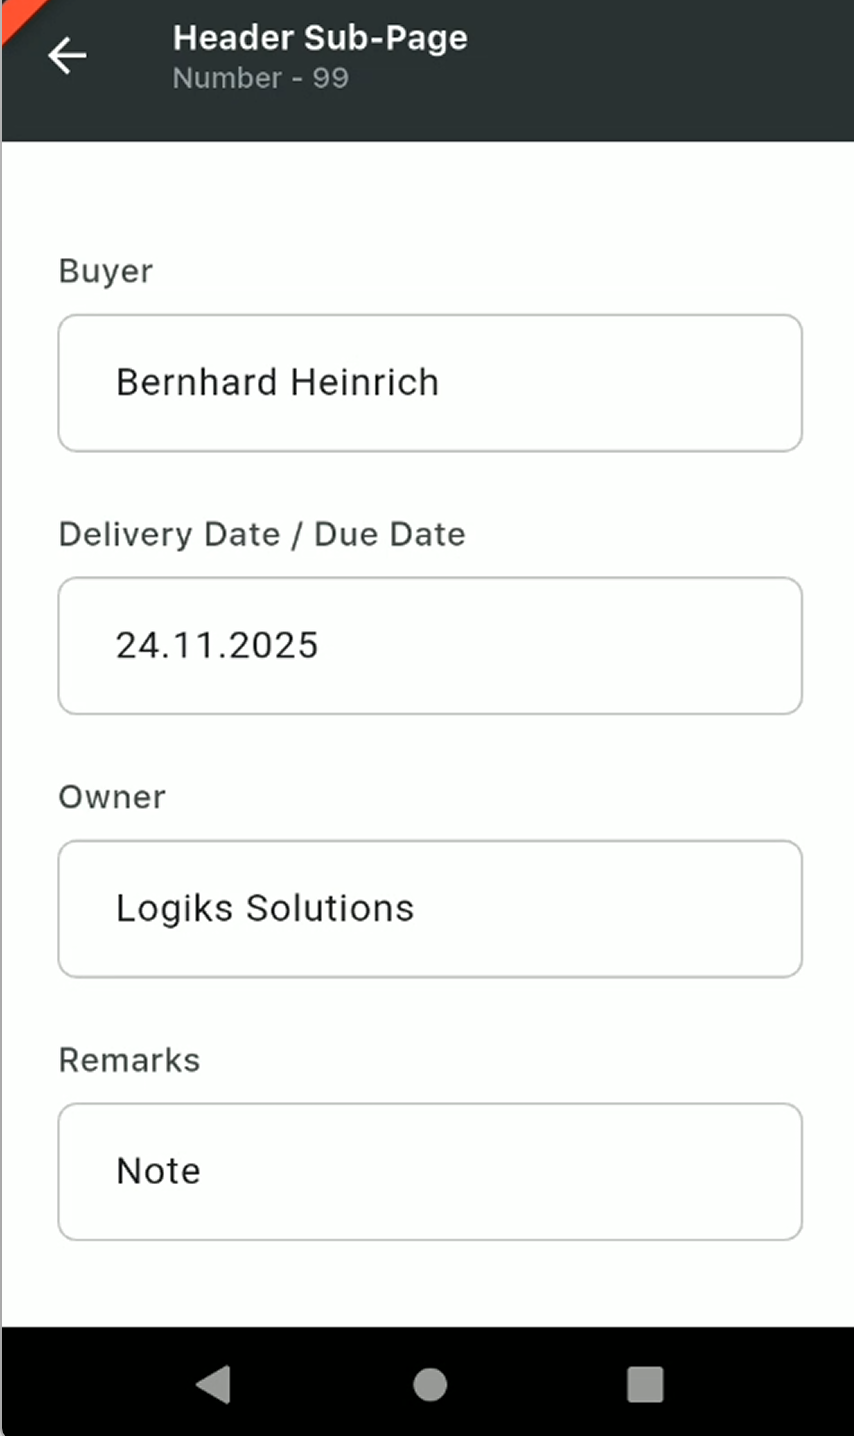 |
Lines Section
Select the Lines tab.

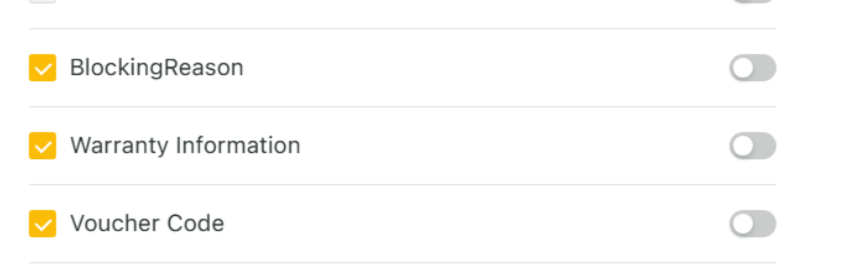
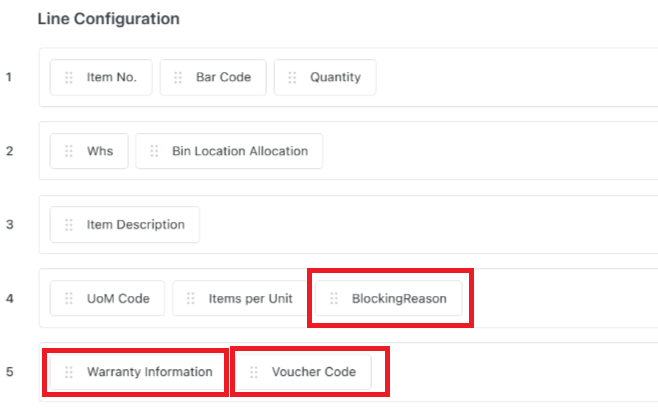
You will see the available fields on the Left side and the existing line configuration next to it.
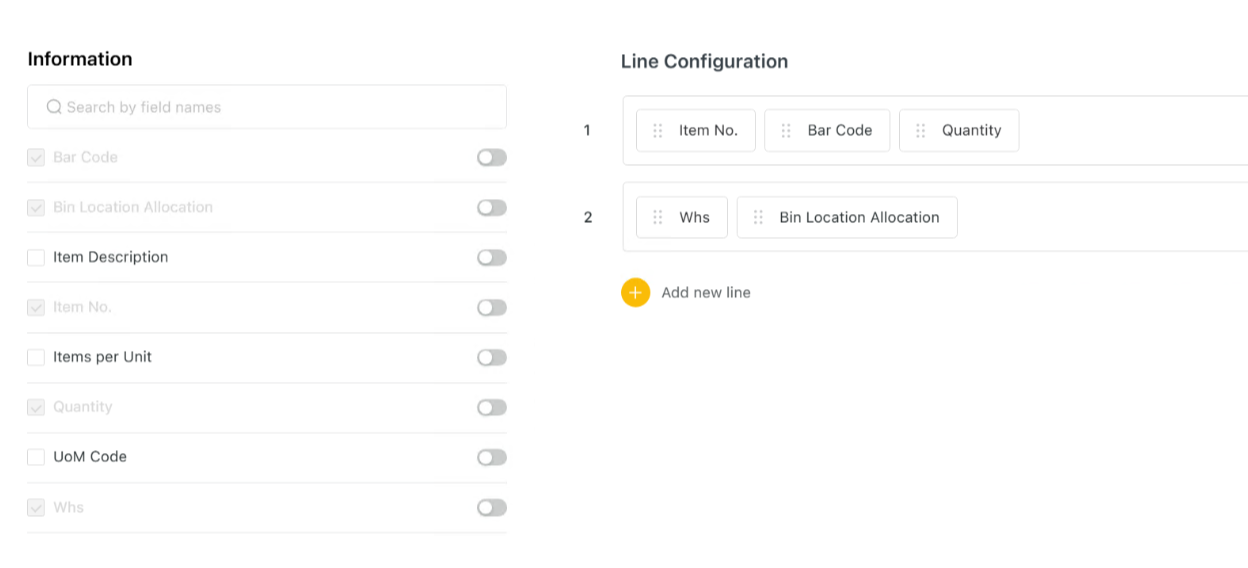
Fields that are greyed out are mandatory and cannot be deselected.
Enable any additional fields you want to display by checking the box next to them.
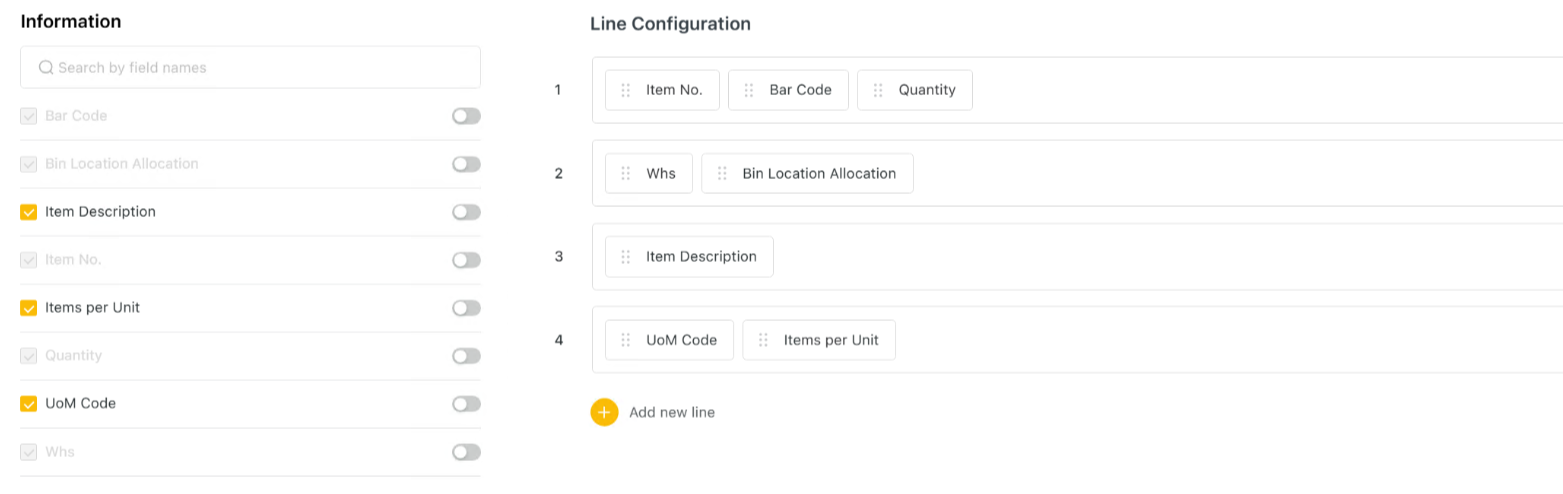
You can drag and drop the selected fields into existing lines or add new lines by pushing “Add new line”. (Consider the screen size of your device. Adding too much information on a single line can cause cropping and information not being properly displayed)
Push Save Changes
Restart the Logiks WMS Mobile app.
Check that everything is to your liking.
Before | After |
|---|---|
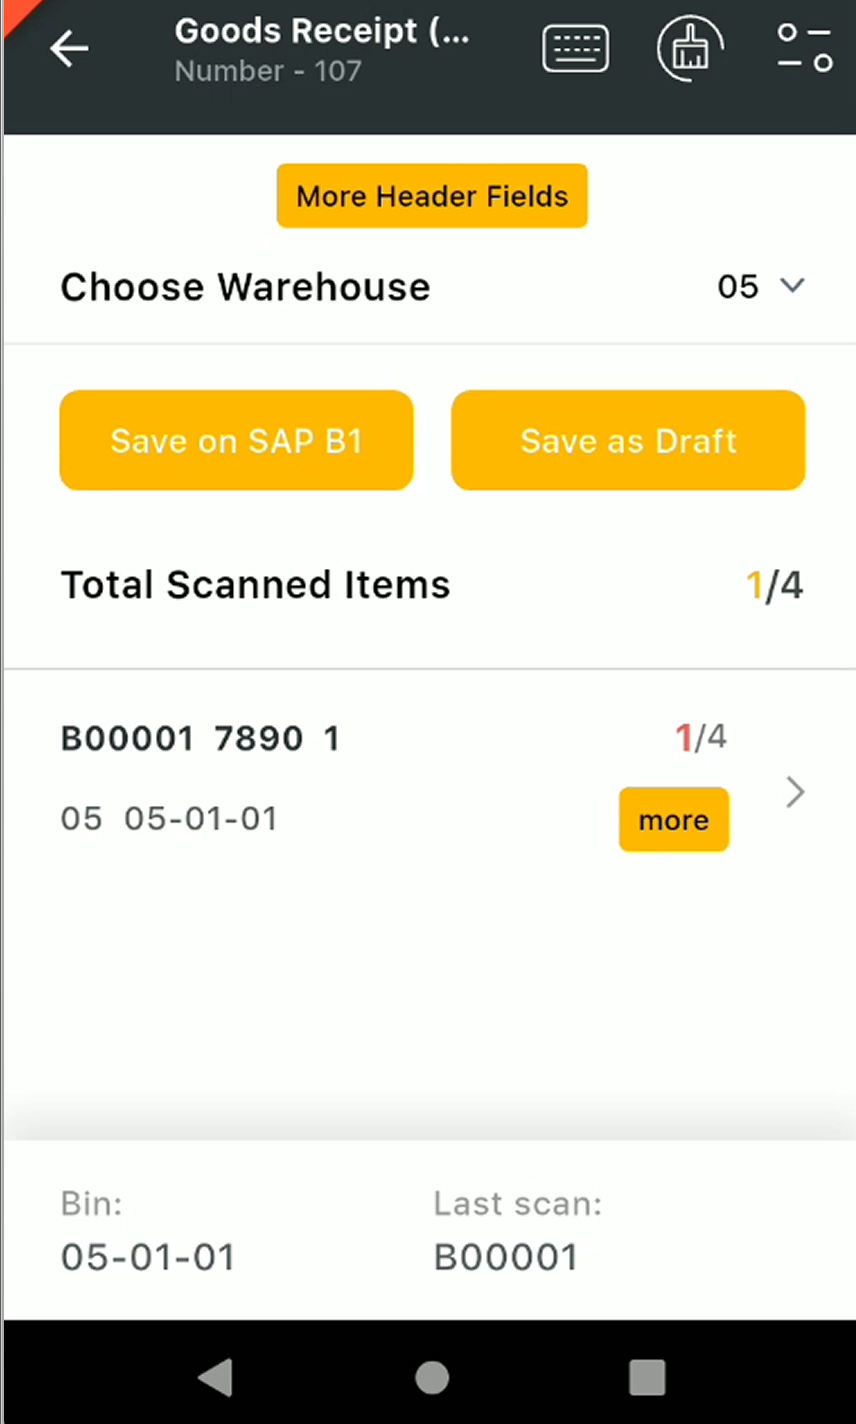 | 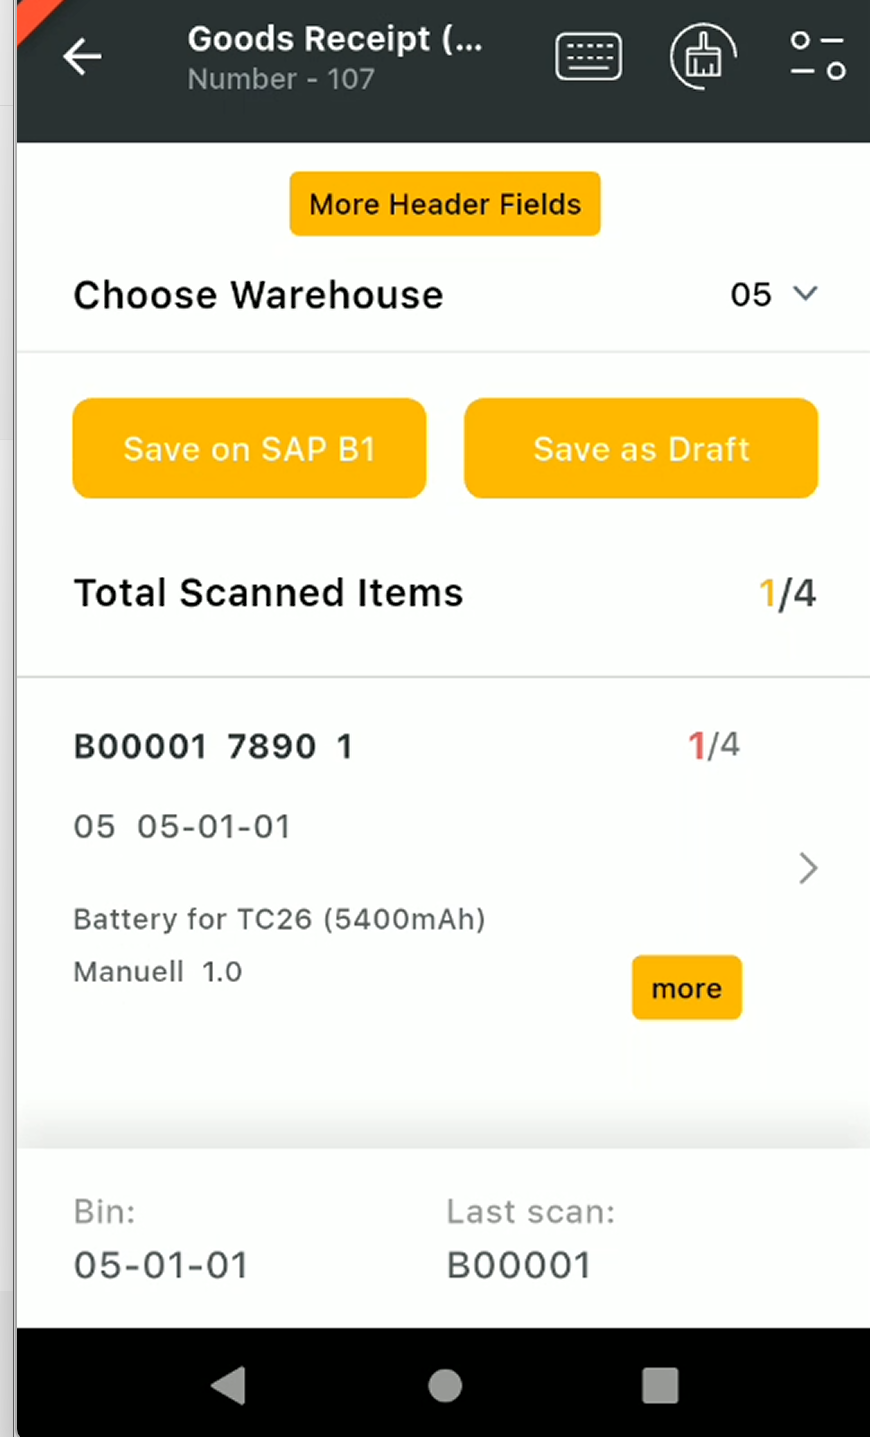 |
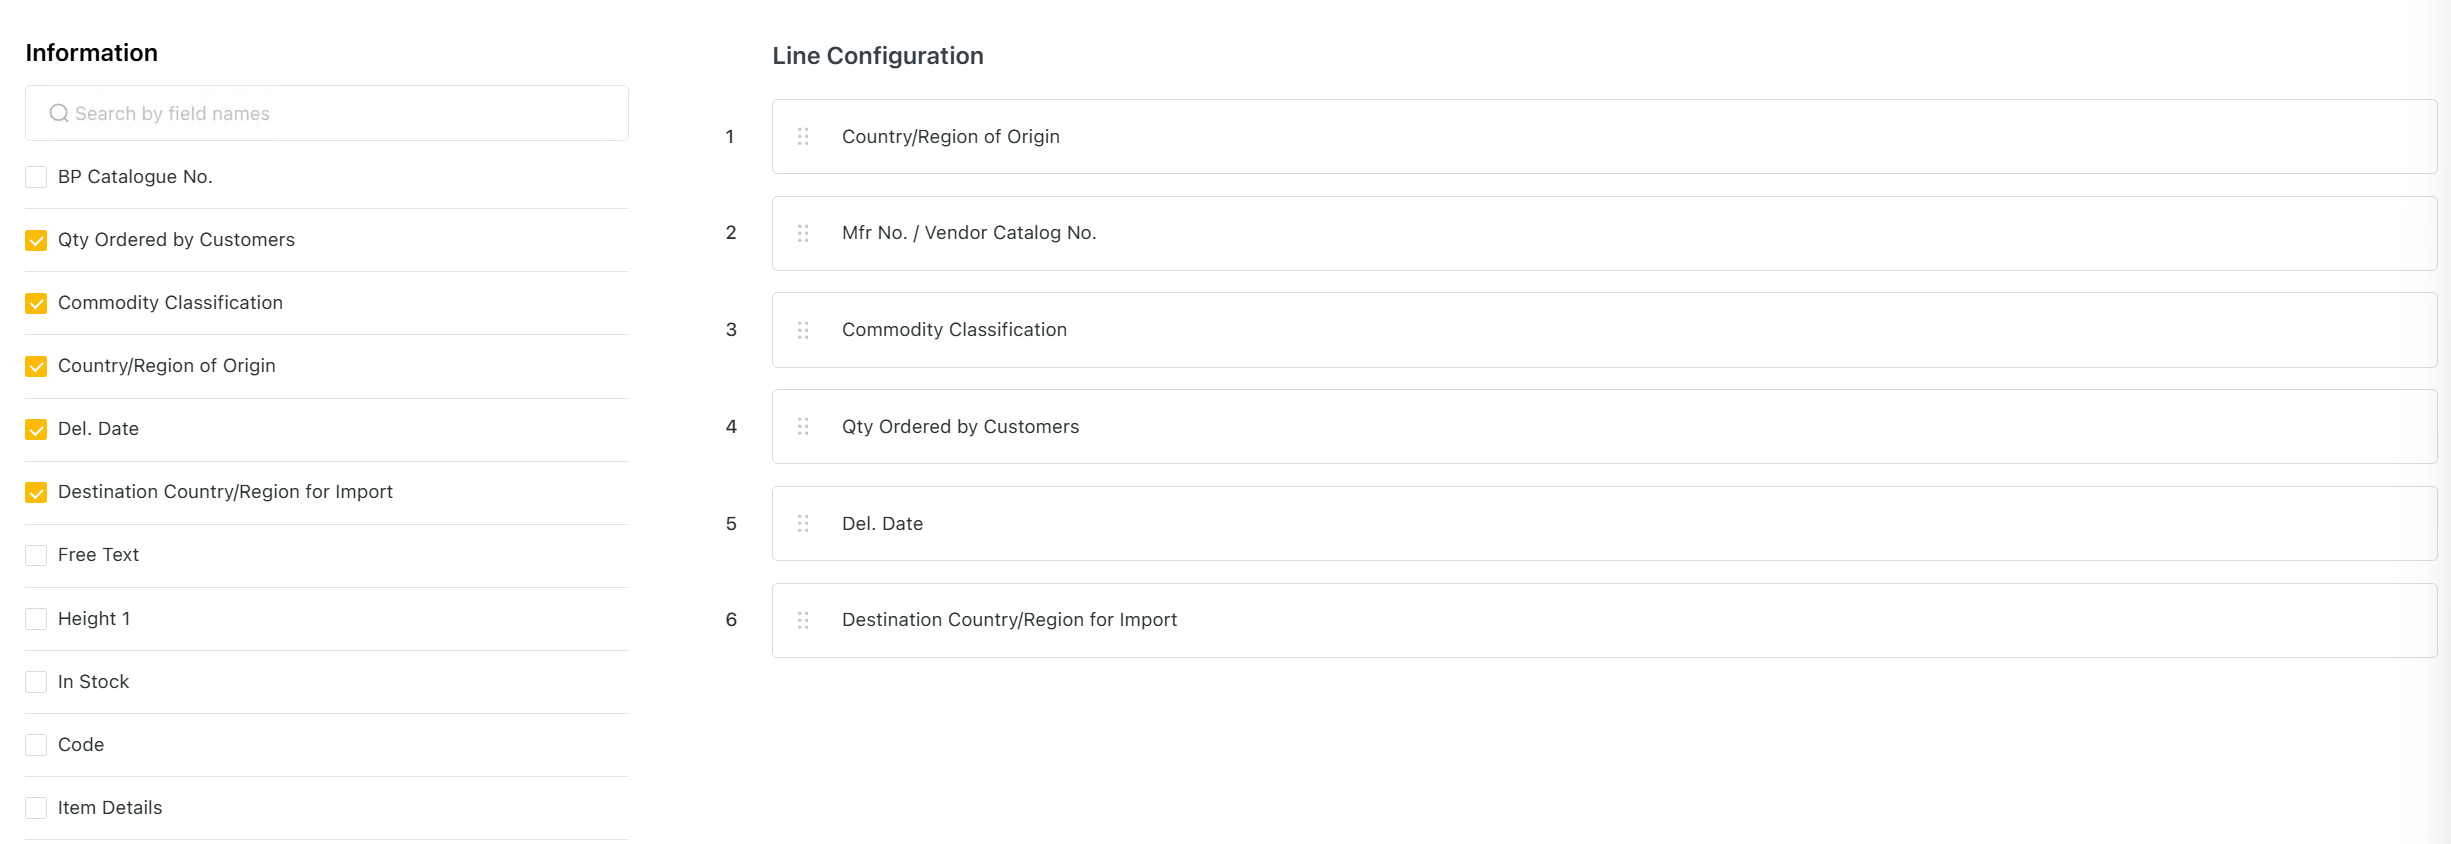
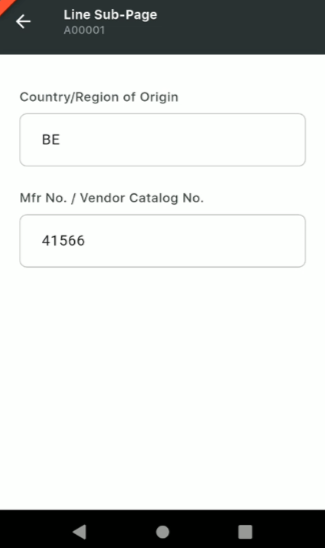
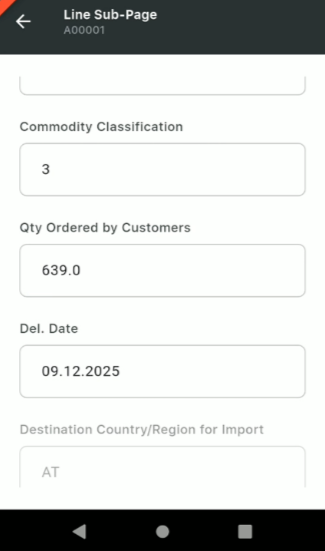
Line Sub-page Section
Select the Line Sub-Page tab.

You will see the available fields on the Left side and the existing line configuration next to it.
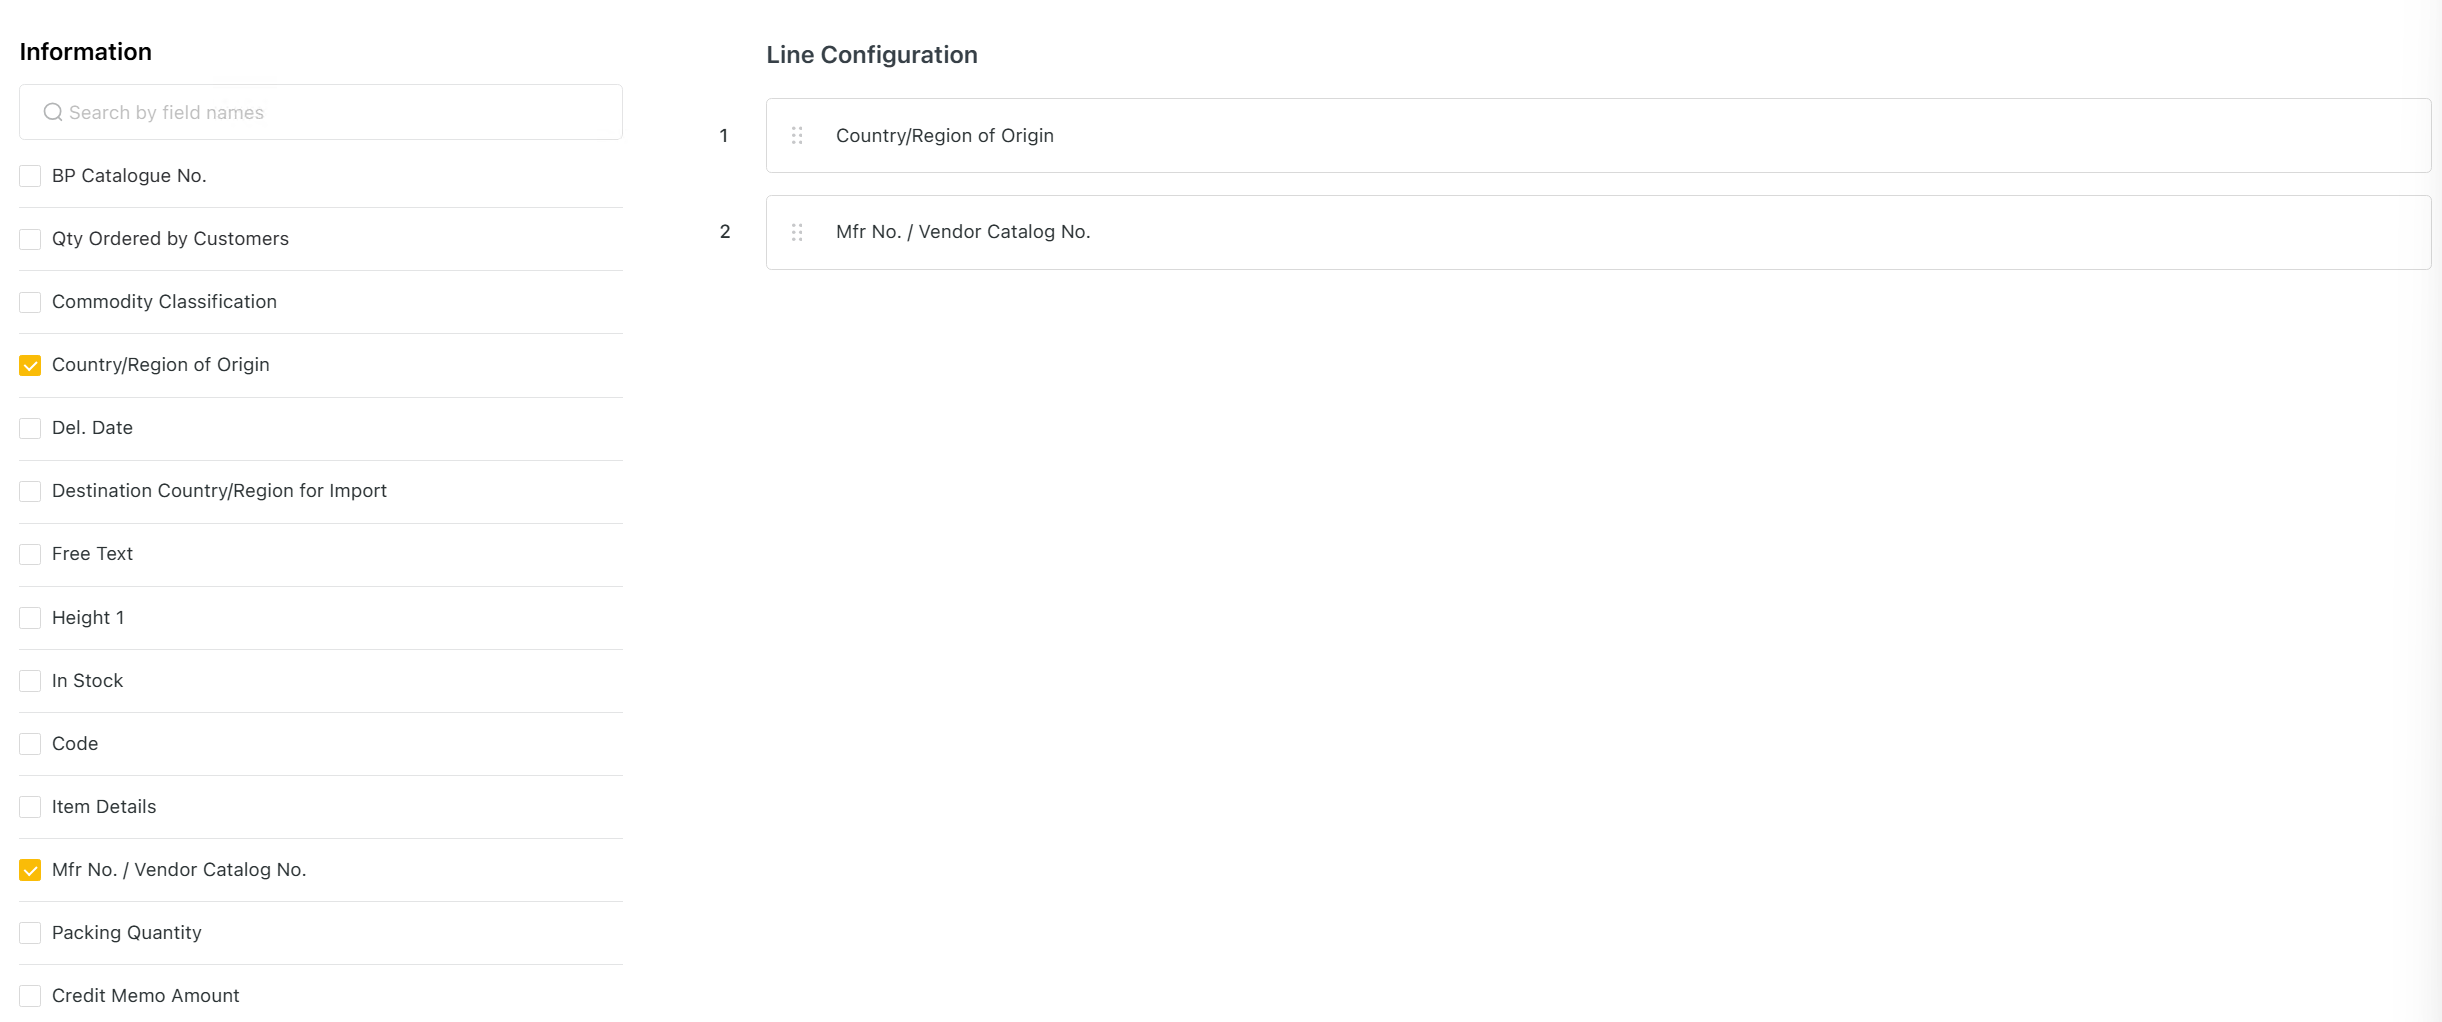
Enable any additional fields you want to display by checking the box next to them.
Push Save Changes
Restart the Logiks WMS Mobile app.
Check that everything is to your liking.
Before | After |
|---|---|
 |  |
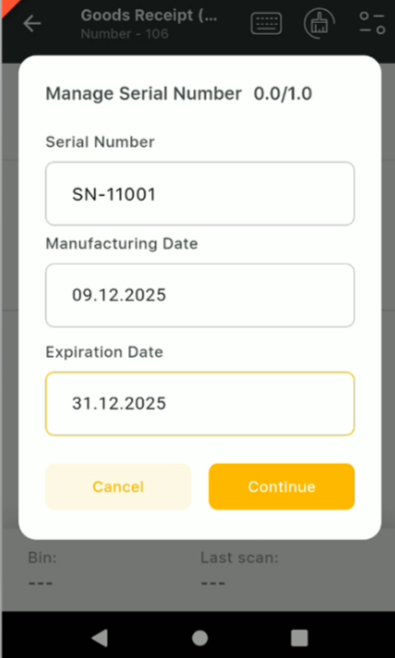
Serial Pop-up section
Select the Serial pop-up tab.

You will see the available fields on the Left side and the existing line configuration next to it.
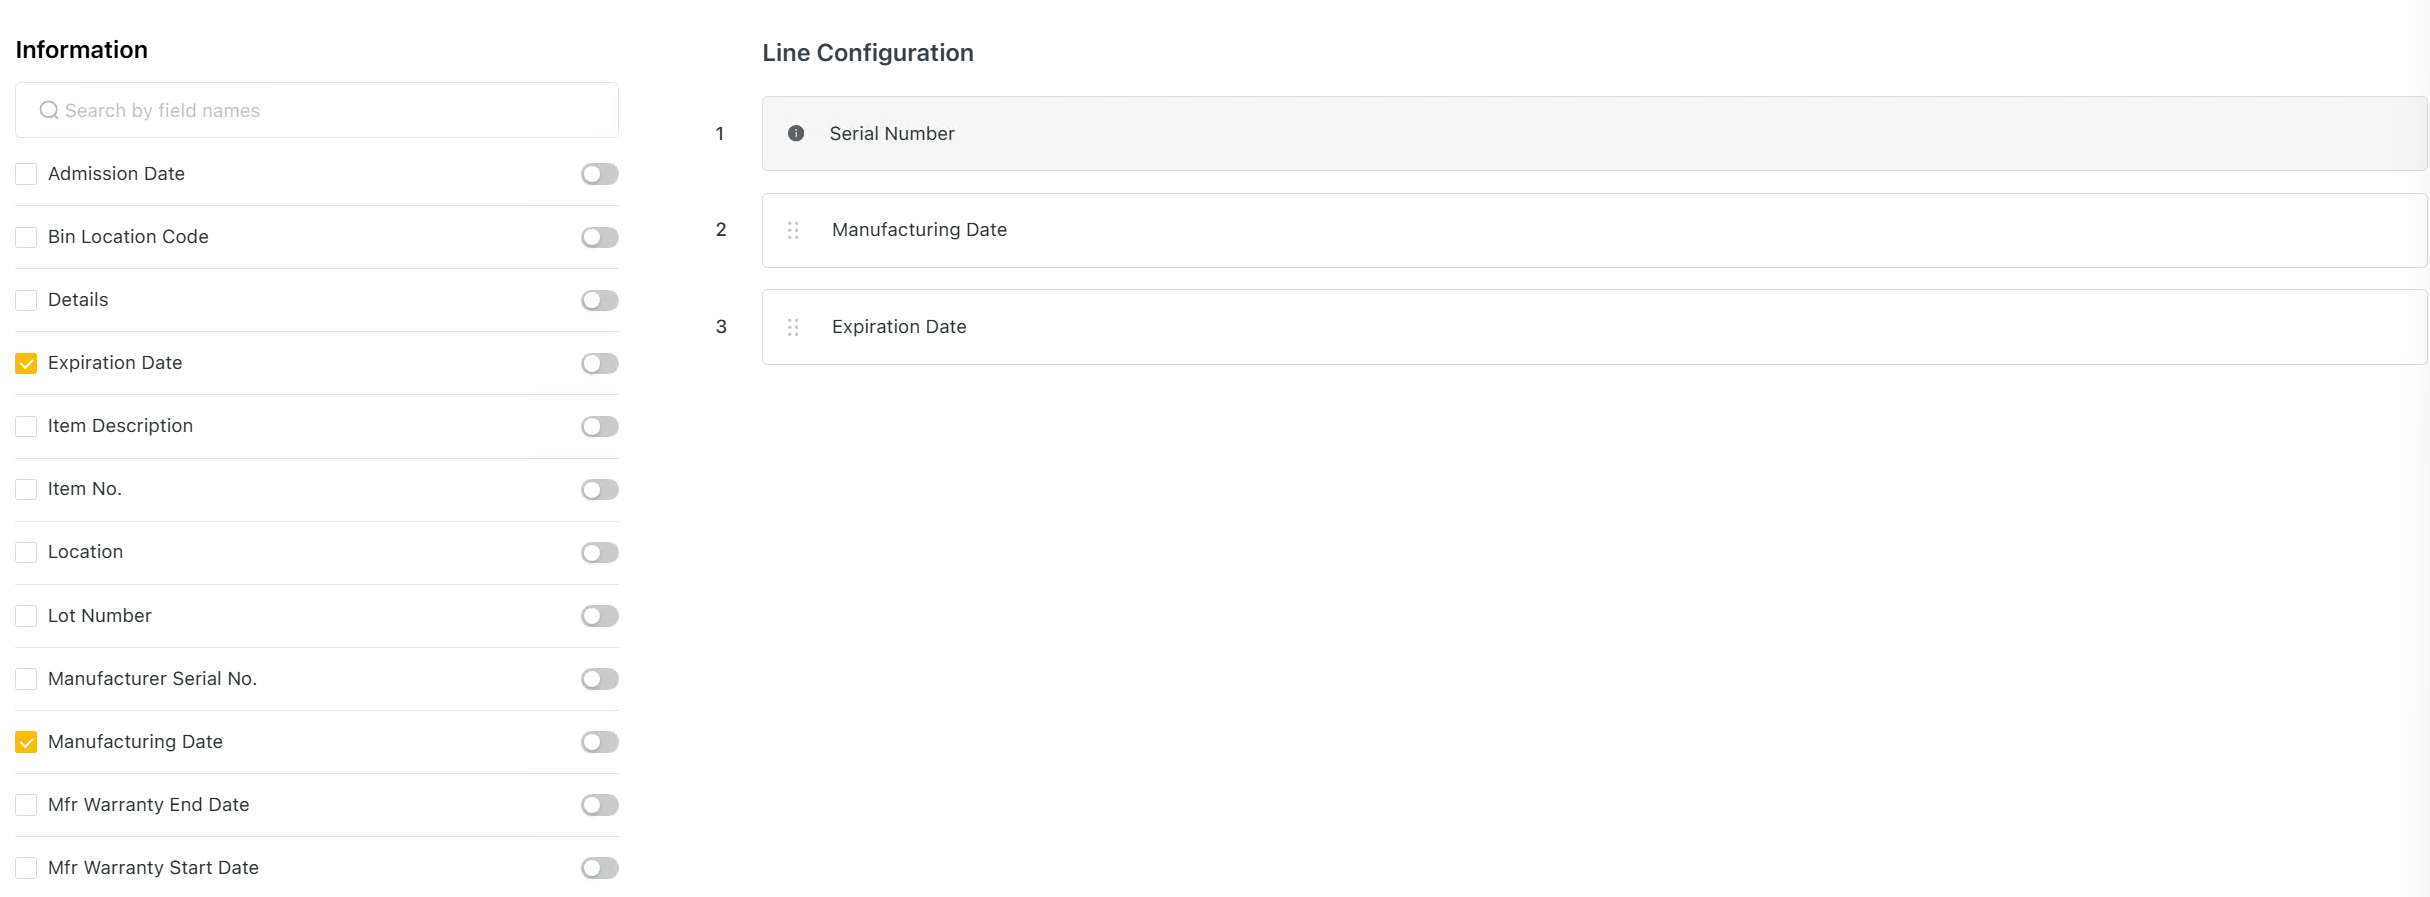
Fields that are greyed out are mandatory and cannot be deselected.
Enable any additional fields you want to display by checking the box next to them.
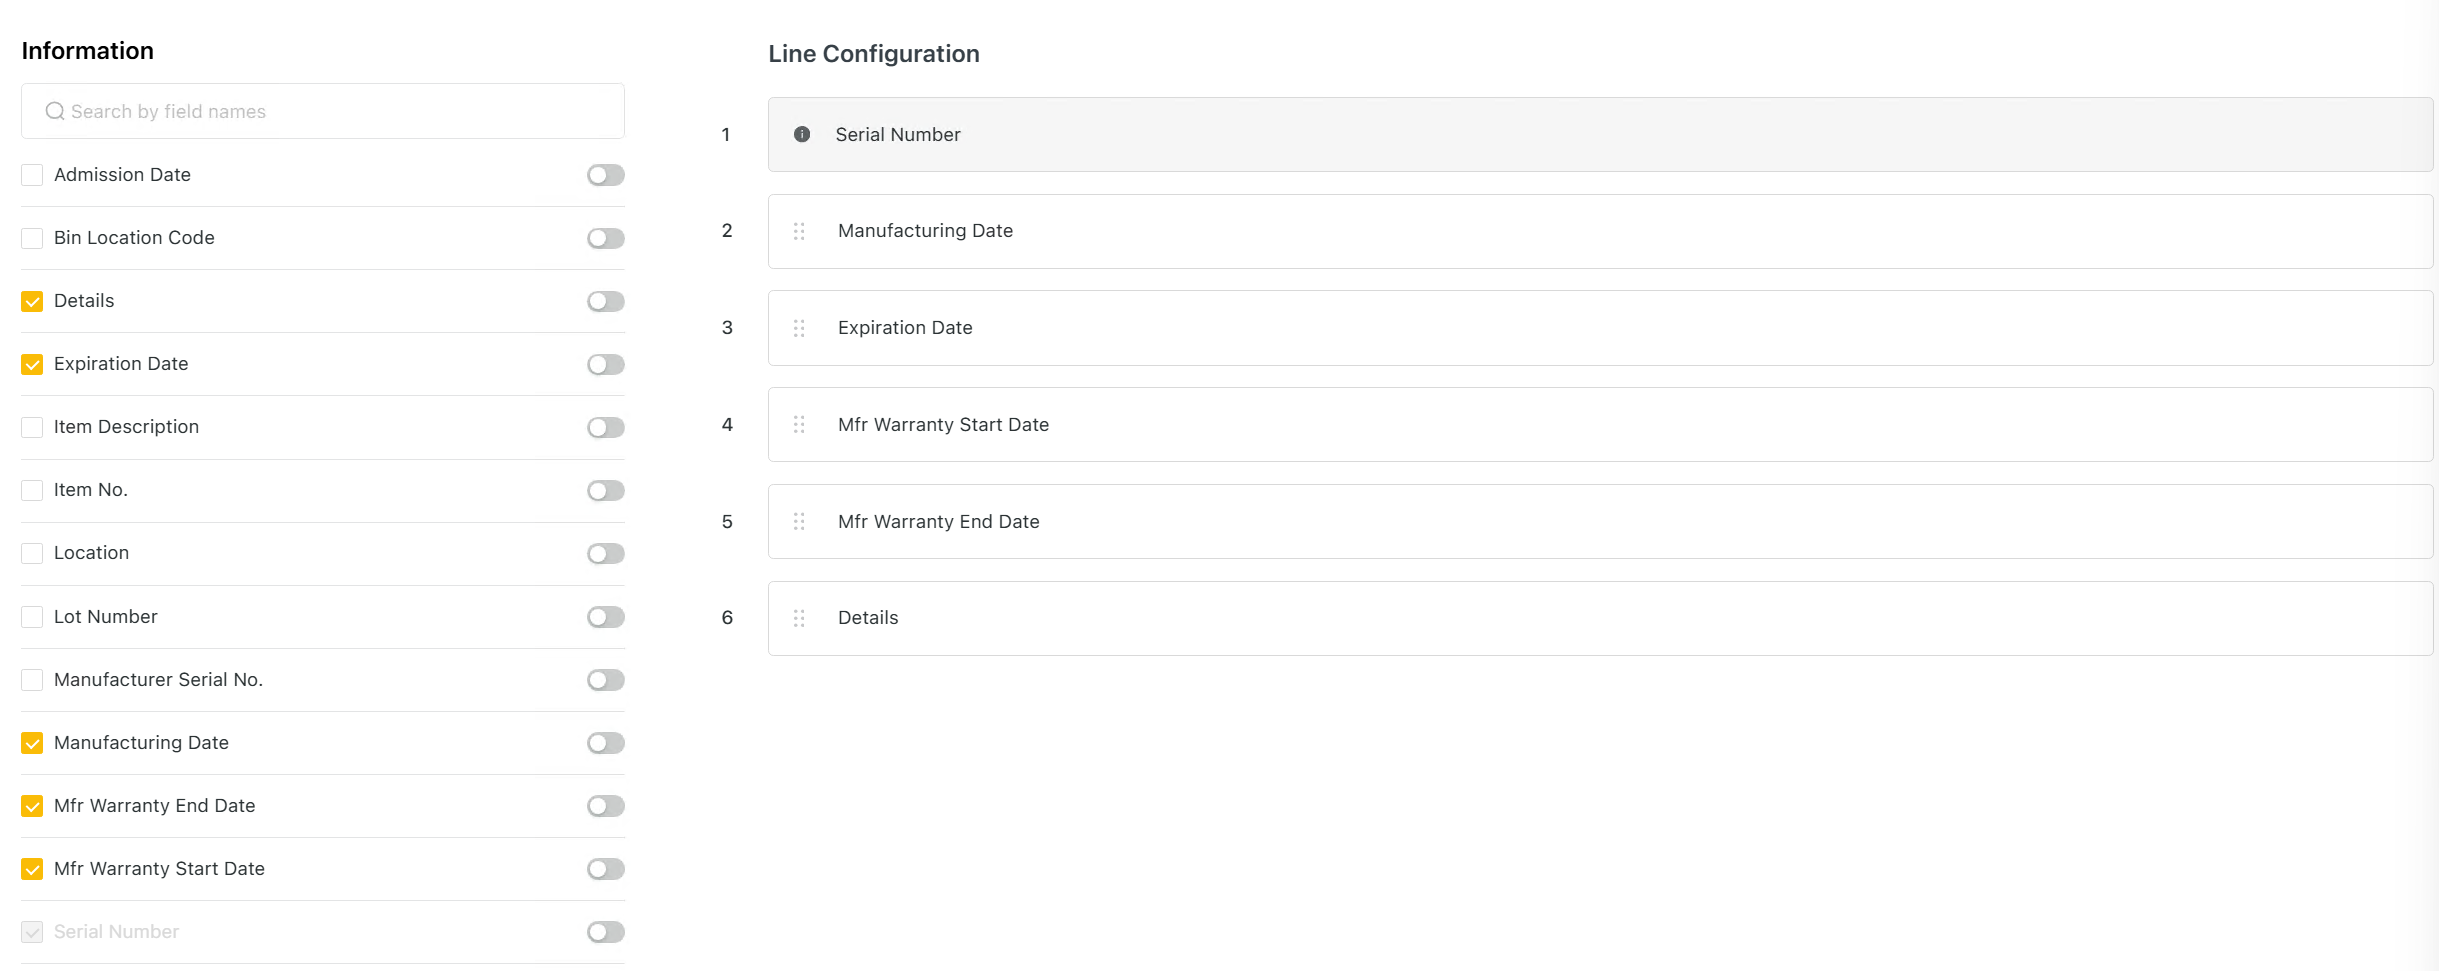
Arrange the added but clicking and dragging.
Push Save Changes
Restart the Logiks WMS Mobile app.
Check that everything is to your liking.
Before | After |
|---|---|
 | 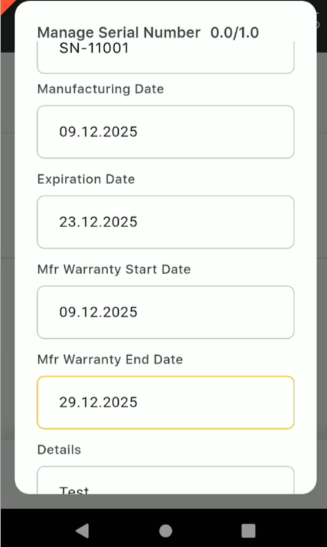 |
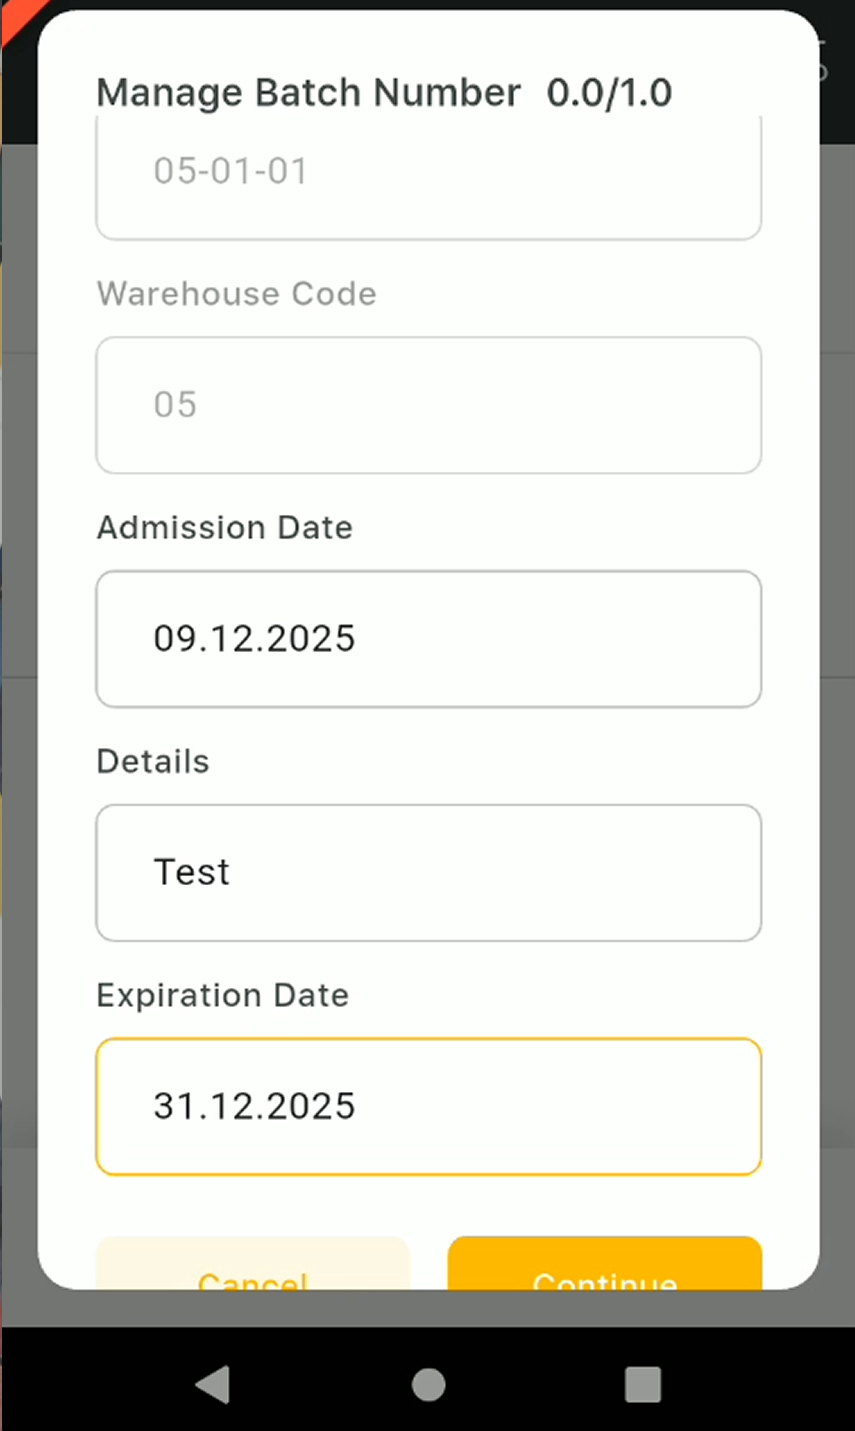
Batch Item Pop-Up
Select the Batch Item pop-up tab.
You will see the available fields on the Left side and the existing line configuration next to it.
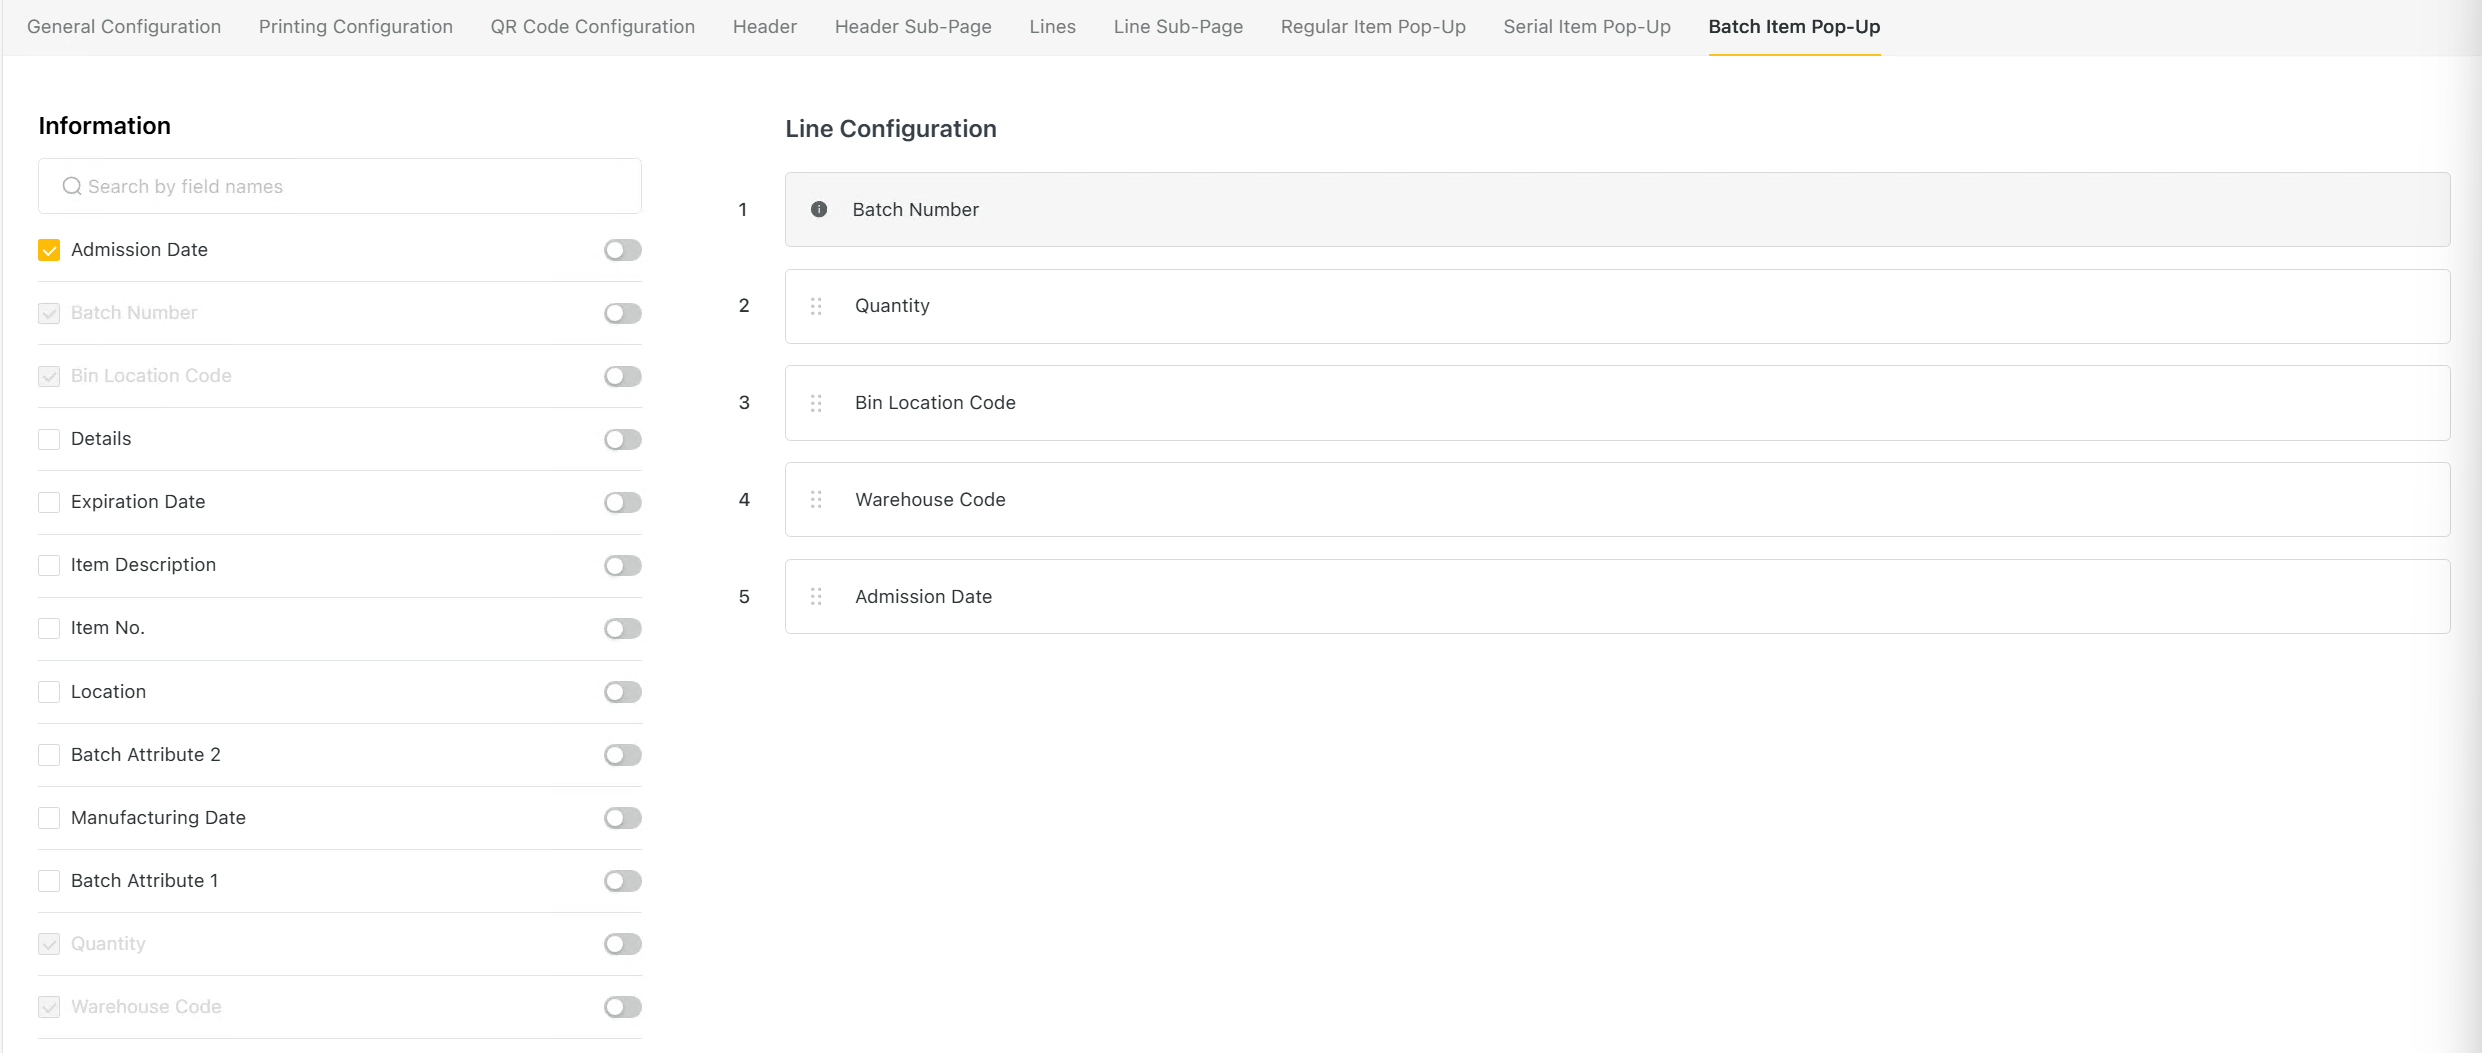
Fields that are greyed out are mandatory and cannot be deselected.
Enable any additional fields you want to display by checking the box next to them.
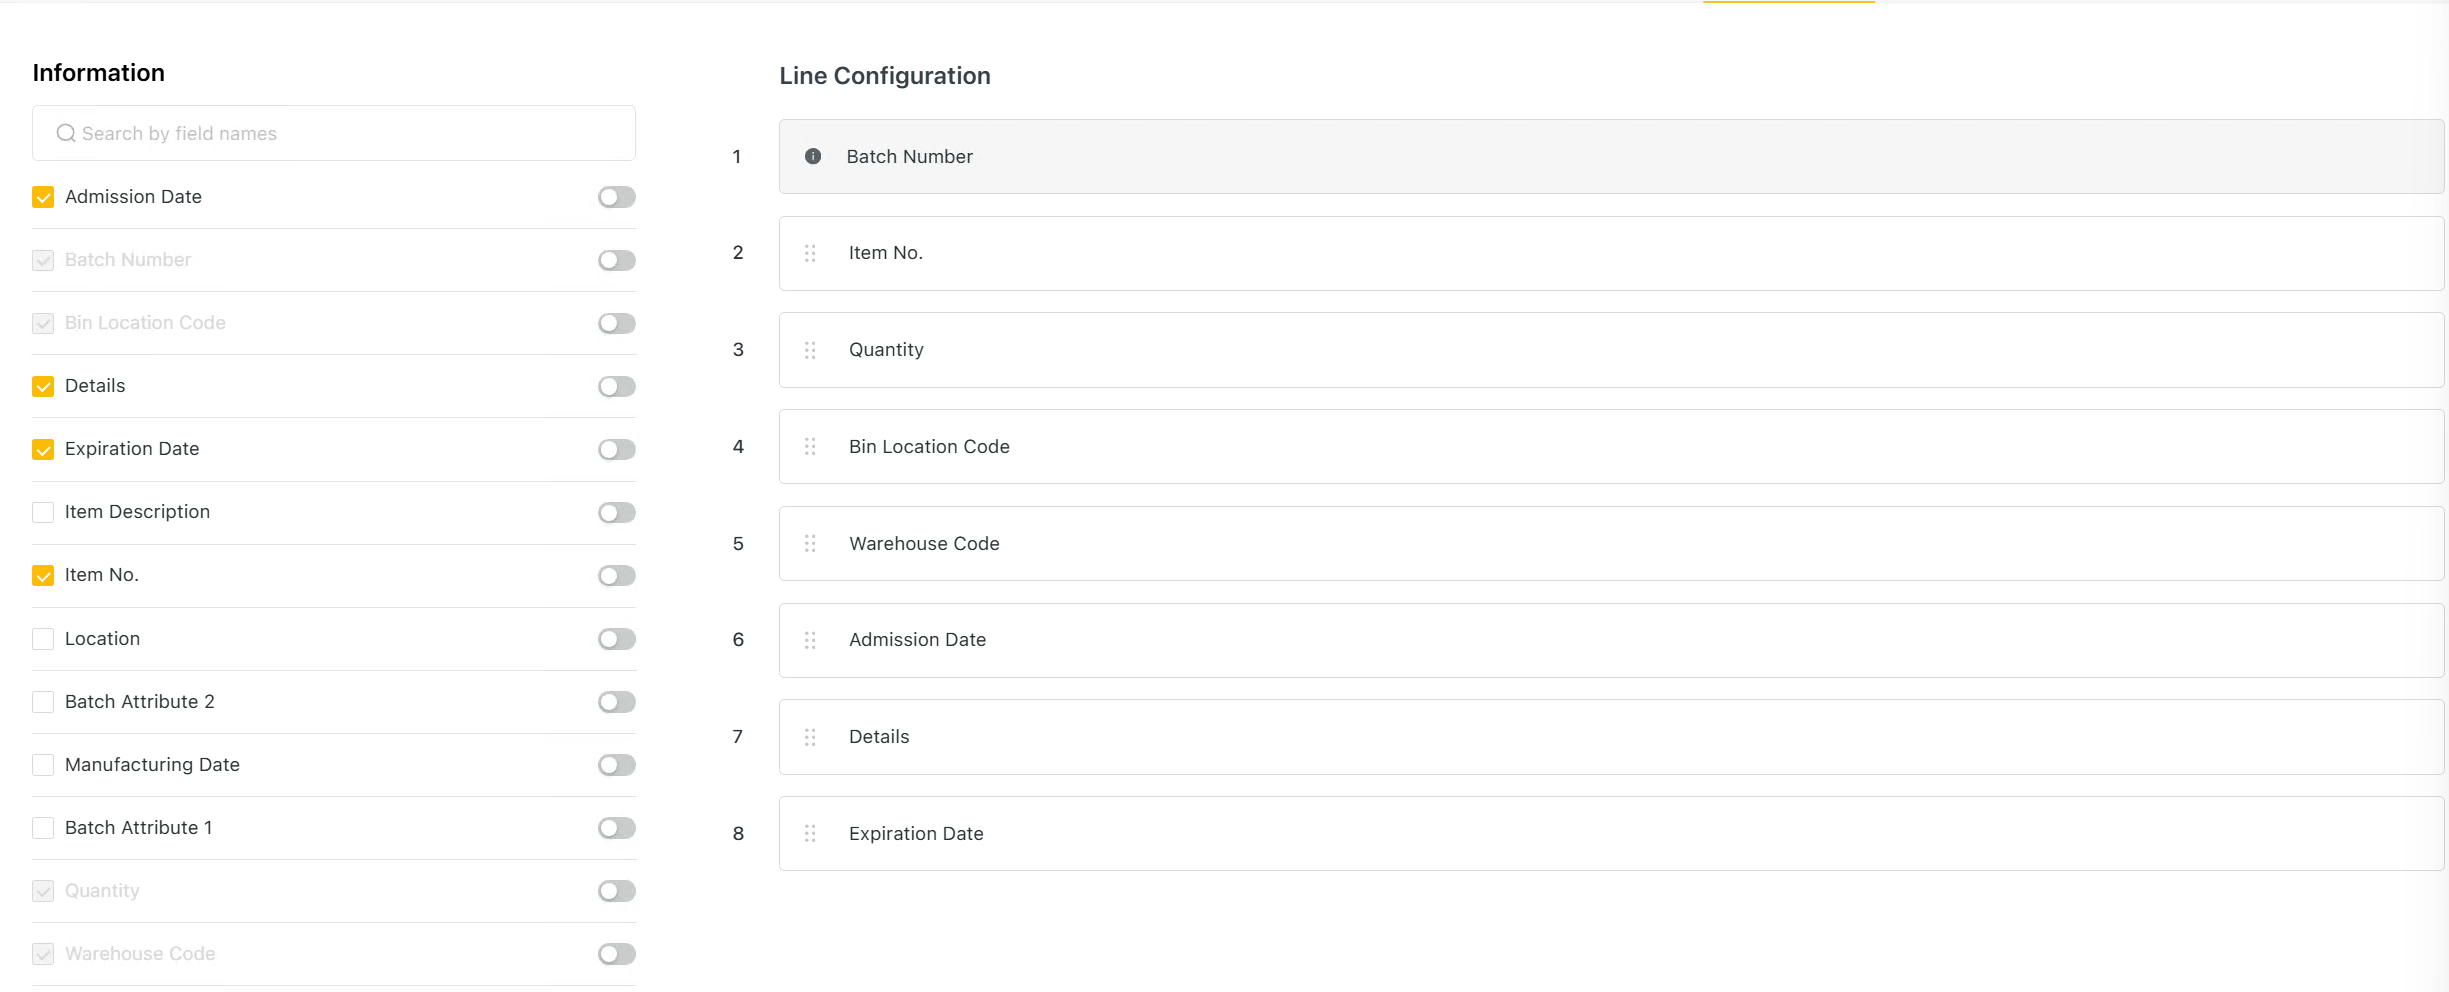
Arrange the added but clicking and dragging.
Push Save Changes
Restart the Logiks WMS Mobile app.
Check that everything is to your liking.
Before | After |
|---|---|
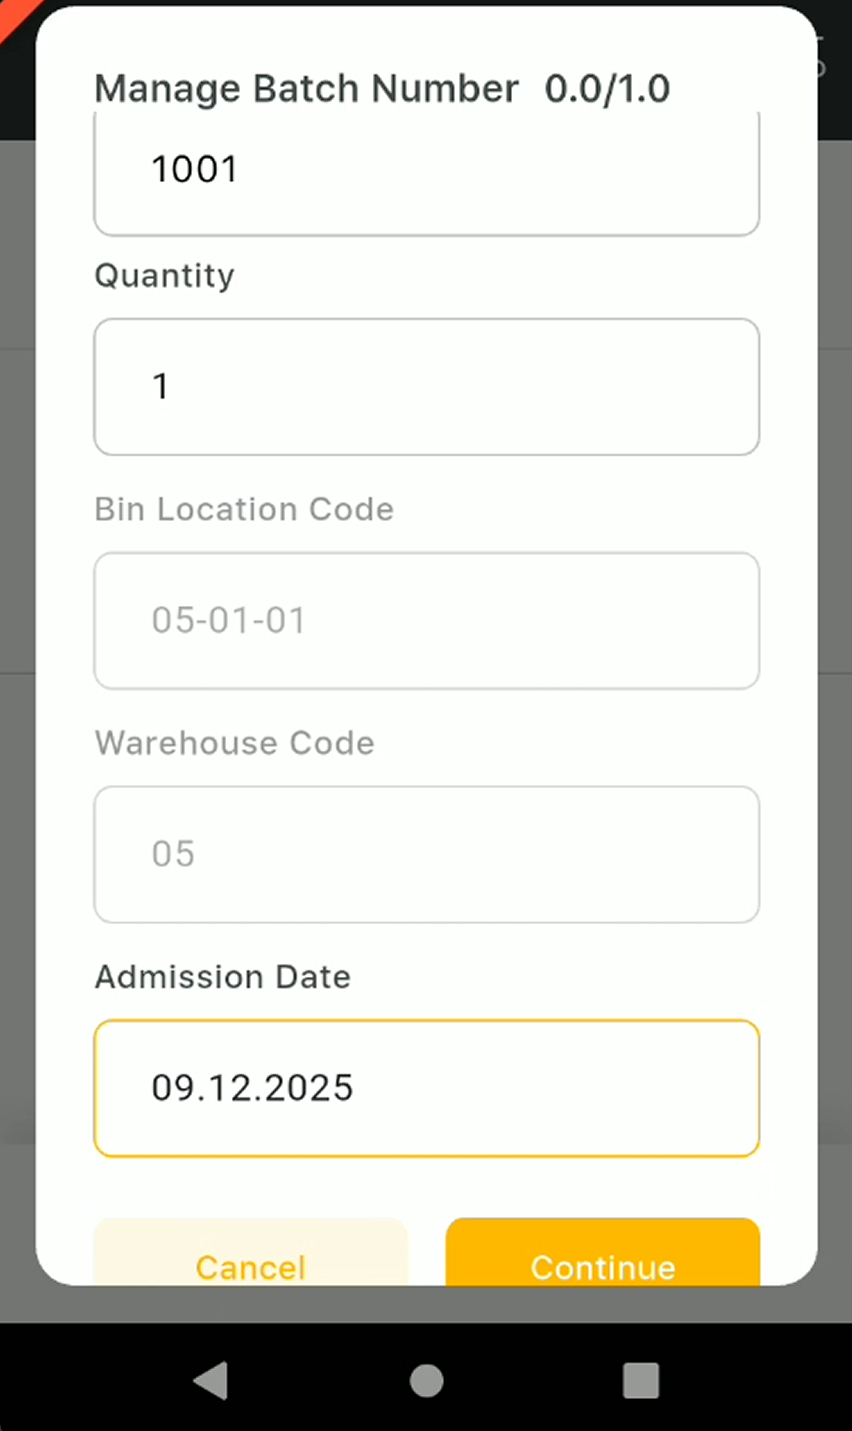 |  |
Adding UDFs
Logiks WMS lets you add User Defined Fields (UDFs) directly into the UI.
You can Add UDFs in:
Head Sub-page section
Lines Section
Line Sub-page section
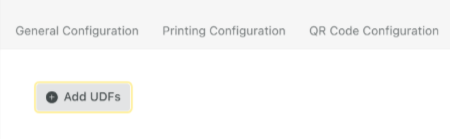
Select the section you want to add your UDFs

Push “Add UDFs” Button.
Choose the UDFs you want to add
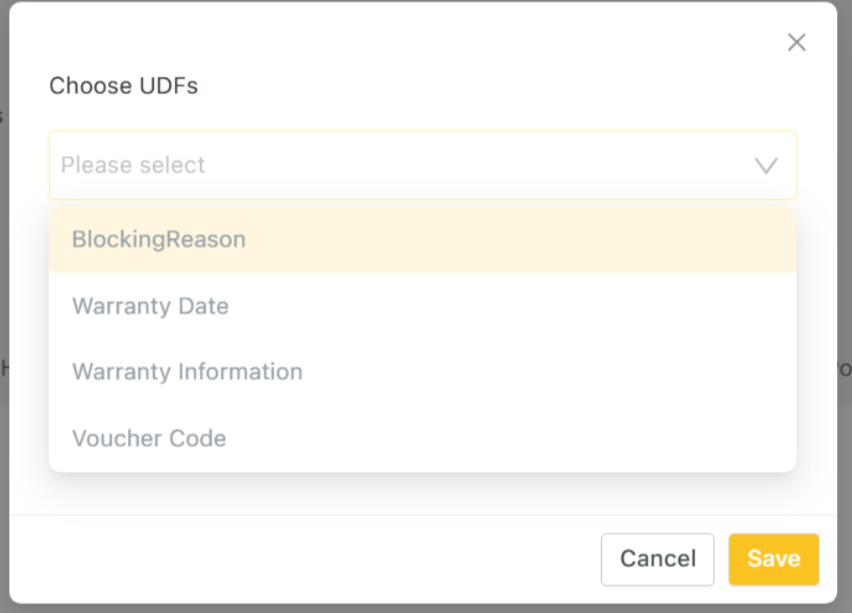
Click Save
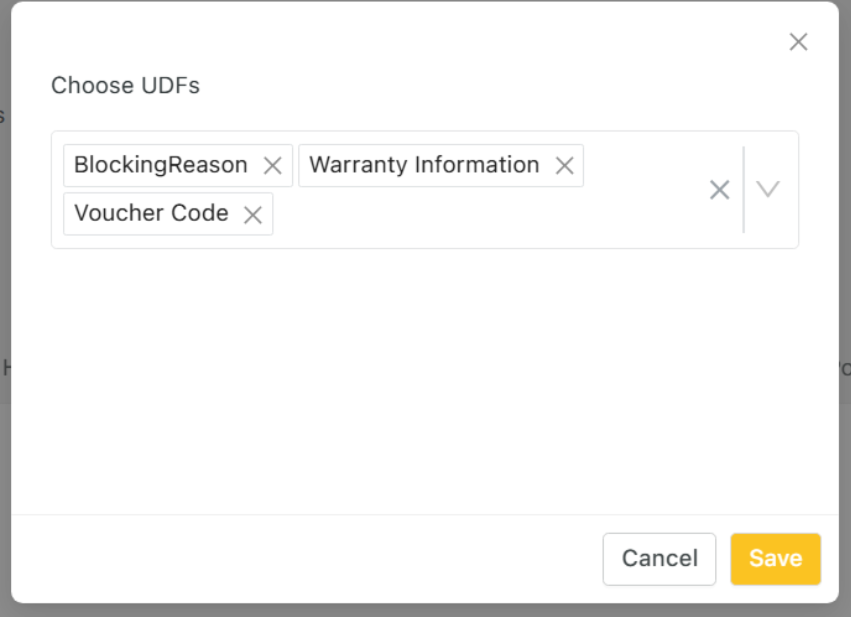
The UDFs will appear on the list of information you can add to your UI

Enable them by checking the box next to them.
Arrange them in the Line Configuration to your liking
Push Save Changes
Restart the Logiks WMS Mobile app.
Check that everything is to your liking.