
Free of Charge Contract
Welcome to the user manual for adding Free of Charge contracts for clients manually from the admin side. This guide will walk you through the two ways to add Free of Charge contracts: through the Contract list and through the Client list.
Adding Free of Charge Contract from Contract List:
Accessing Contract List:
Navigate to the Contract list page in the admin panel.
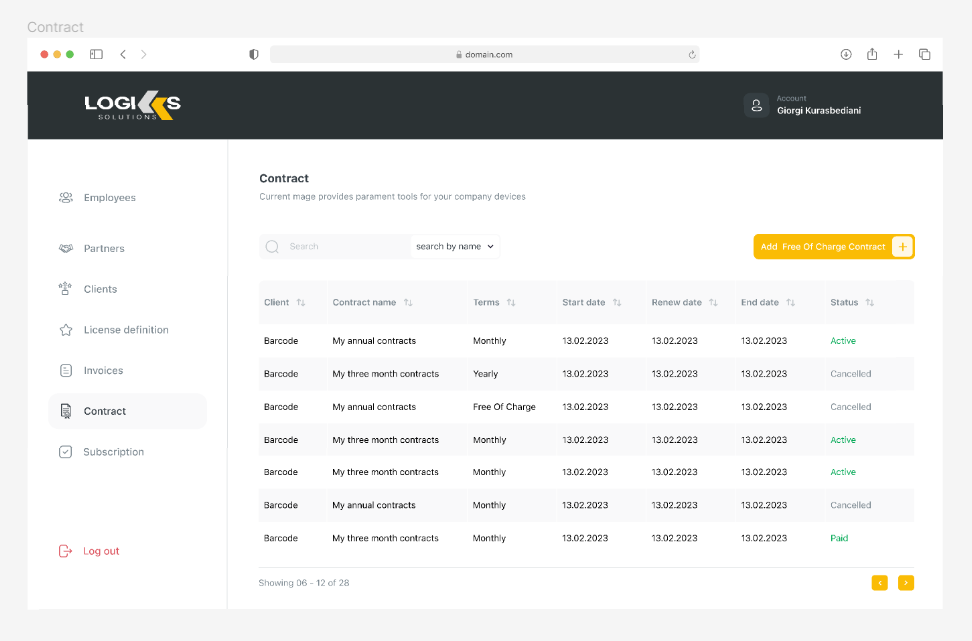
Adding Contract:
On the Contract list page, locate the button labeled "Add Free Of Charge Contract" and click on it.
Choosing a Client:
A pop-up titled "Choose a client" will appear.
From the dropdown list, select the client for whom you want to create a new contract.
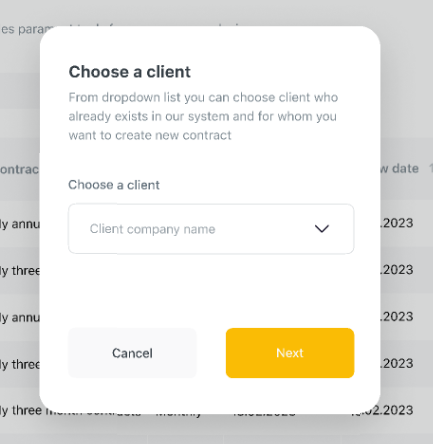
Click "Next" to proceed.
Selecting Contract Options:
On the next page, you can choose from existing Free of Charge contracts for the selected client or create a new one.
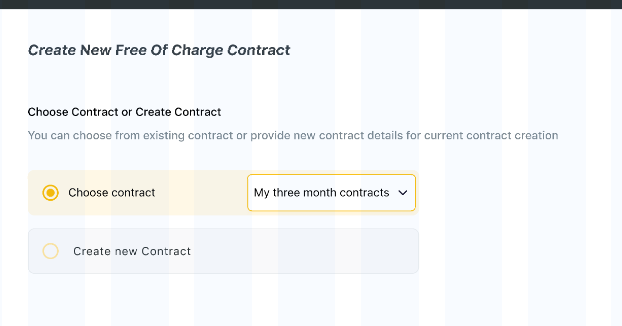
Select the desired contract options, including duration (1, 3, 6, or 12 months).
Payment terms will be disabled and set to "Free Of Charge."
Click "Next" to proceed.
Reviewing Summary:
Review the contract details on the summary page.
The Sub Total, VAT, and Total will be automatically set to 0.
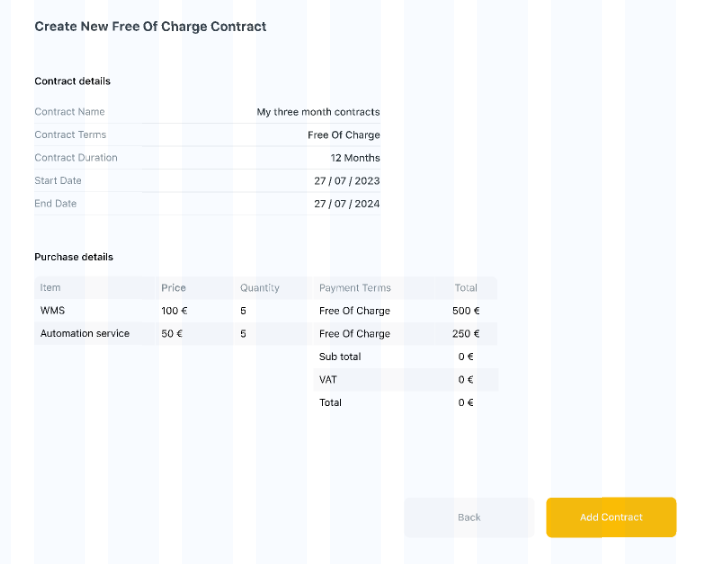
Click "Submit" to add the contract.
Contract Confirmation:
After the contract is added, it will automatically appear in the client's contract list.
Free of Charge contracts cannot be edited by the client.
Adding Free of Charge Contract from Client List:
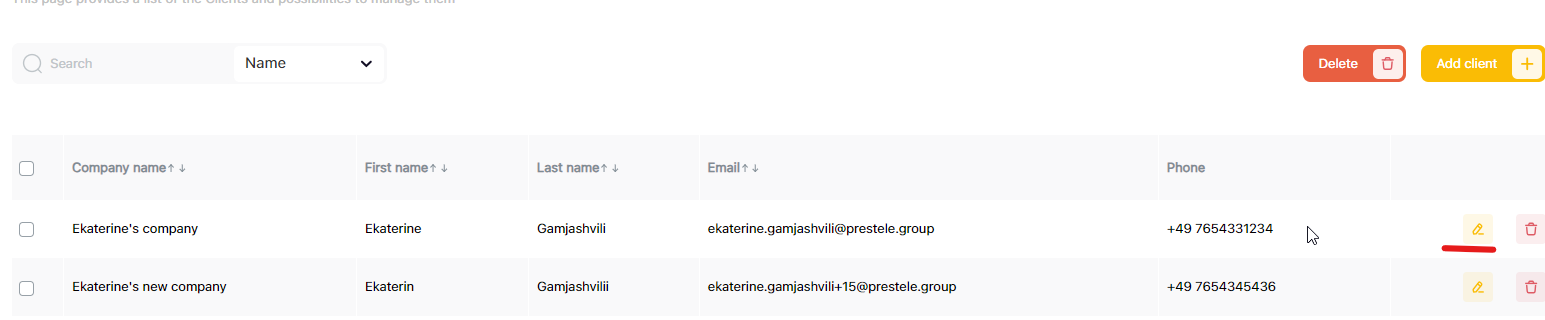
Accessing Client List:
Navigate to the Client list page in the admin panel.
Editing Client Details:
Find the client for whom you want to add a contract and click on the "Edit" button.
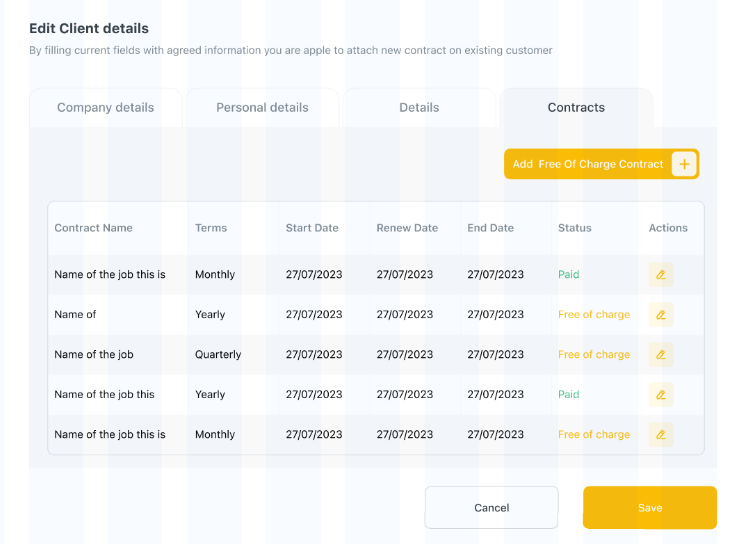
Navigating to Contracts Tab:
In the client details view, navigate to the "Contracts" tab.
Adding Contract:
On the Contracts tab, click on the "+Add Contract" button.
Follow the same flow as described above for choosing a client and selecting contract options.