
Template Configuration
Accessing WMS-Studio
Log in to the web application.
Navigate to the WMS-Studio section.
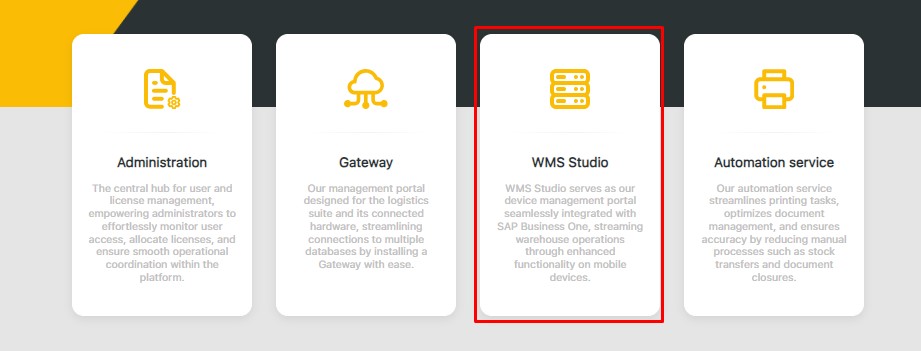
Creating a New Template
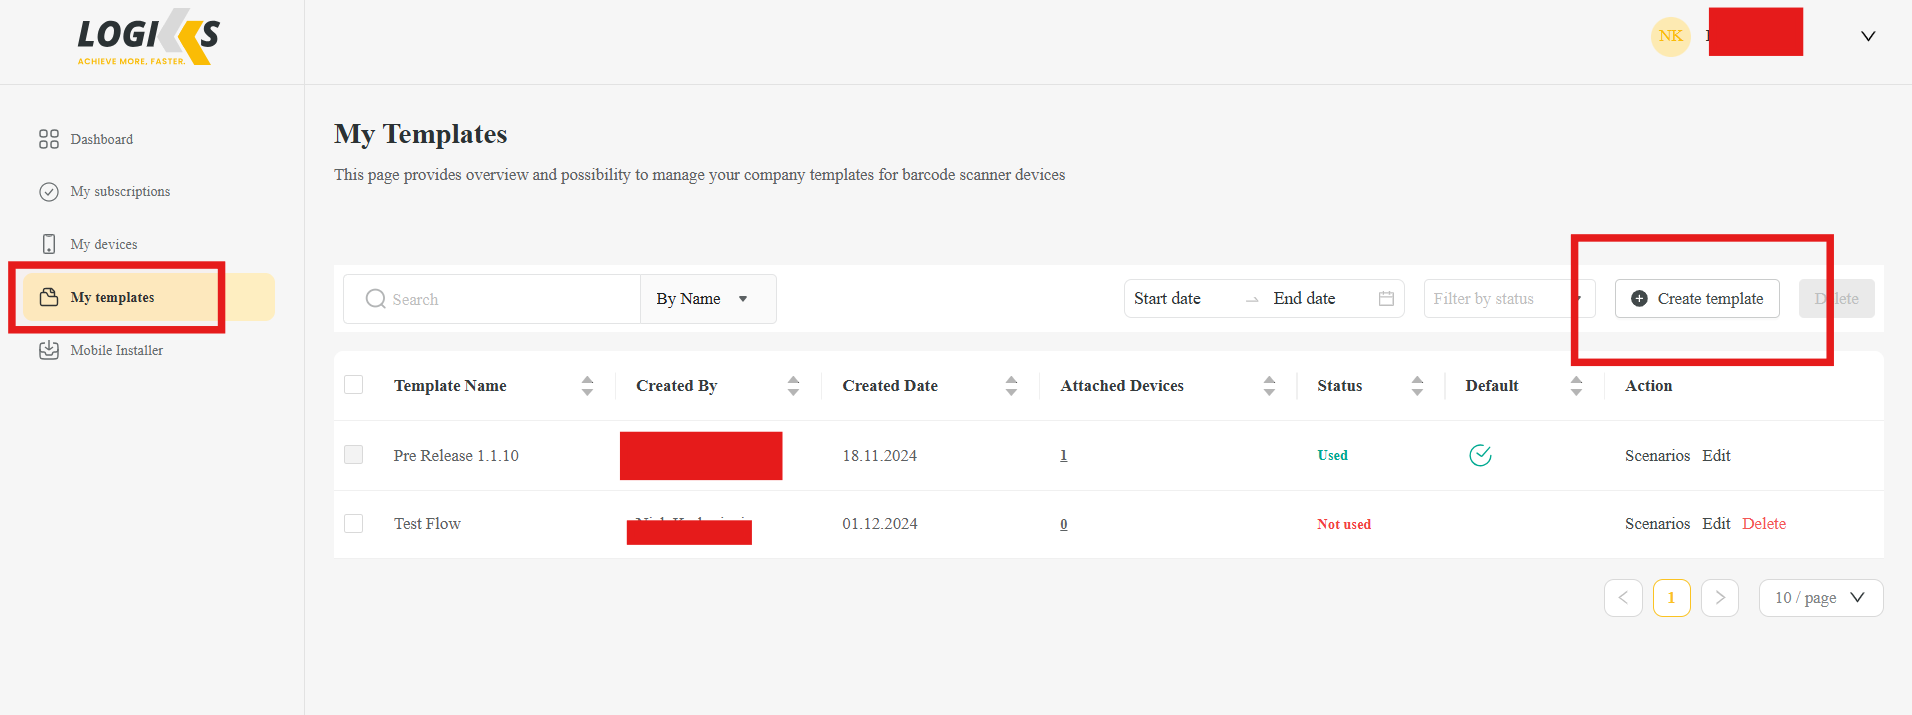
Inside WMS-Studio, select "My Templates"
Click Create New Template to begin customization. Here, you can:
Set up general settings;
Define a custom template name for easy identification;
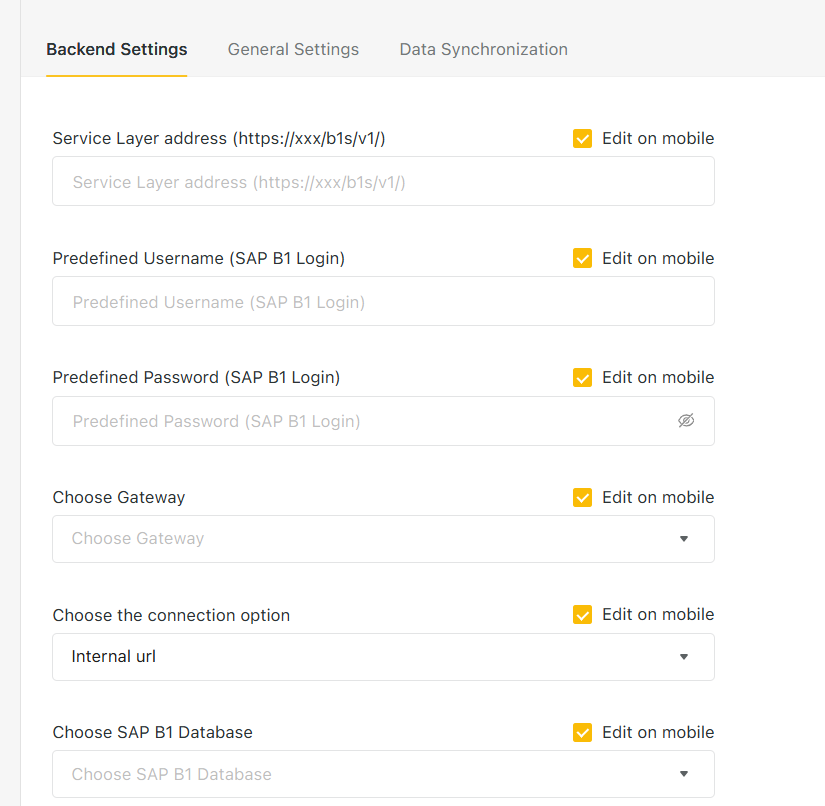
Configuring Backend Settings
During template creation, navigate to the Backend Settings section:
This is where you'll input specific credentials to access the SAP database.
Key information includes the service layer address of the database and SAP login data.
Service Layer Address: https://<your SLD Server IP>:
If you don’t have installed Gateway please check this link To install Gateway
General settings
After providing backend configuration, user has to provide general information like what warehouse will be used and what type of device
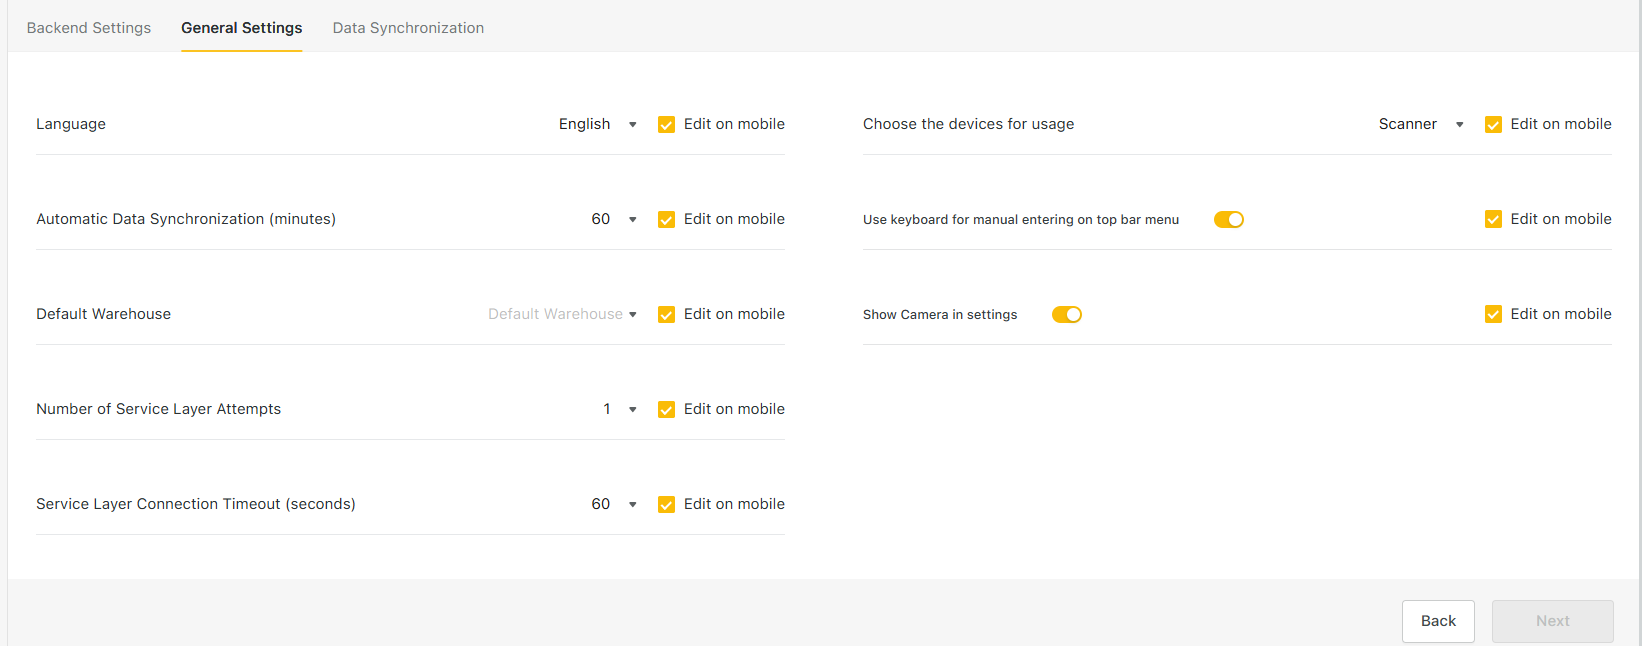
“Default warehouse” - User should choose the warehouse what will be used as a default for scenarios

“Language” User via drop-down able to select between English or German language

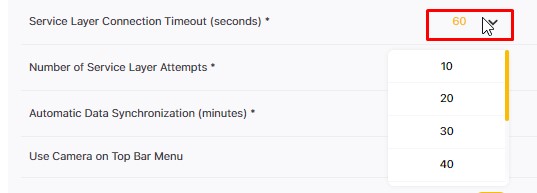
“Service layer connection timeout” User via drop-down can set by default “Seconds” until the connection goes on timeout.
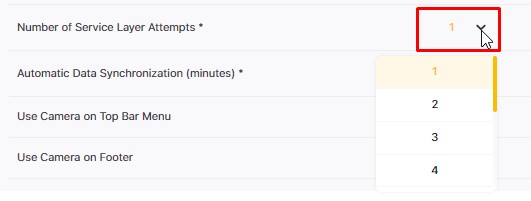
“Number of Service Layer Attempts” - The user can set the number of attempts for the device try to connect until it shows an error. Also via the drop-down.
“Automatic data synchronization” - The user can set an interval in “Minutes” for when the data should automatically be synchronized via drop-down

“Choose the device for usage” - User can decide with what type of device he will be working

“Edit Permissions” are provided to make the current setting editable from the Barcode Scanner Application or not.
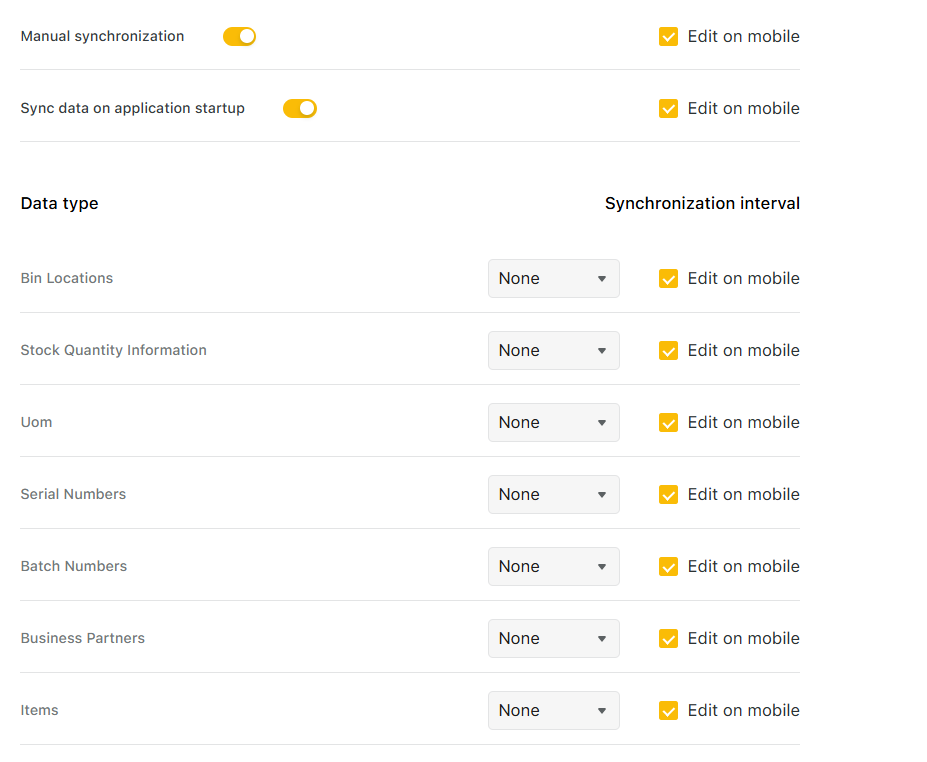
Data Synchronization - Users can set how often they want data to sync in the background, or choose whether they prefer manual synchronization or automatic syncing during login.
Saving the Template
Settings are configured and saved user will be asked to configure scenarios as well
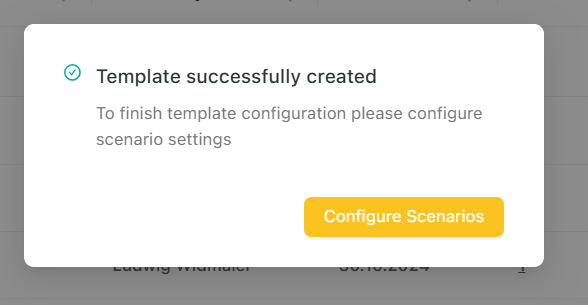
What will redirect user on scenario page
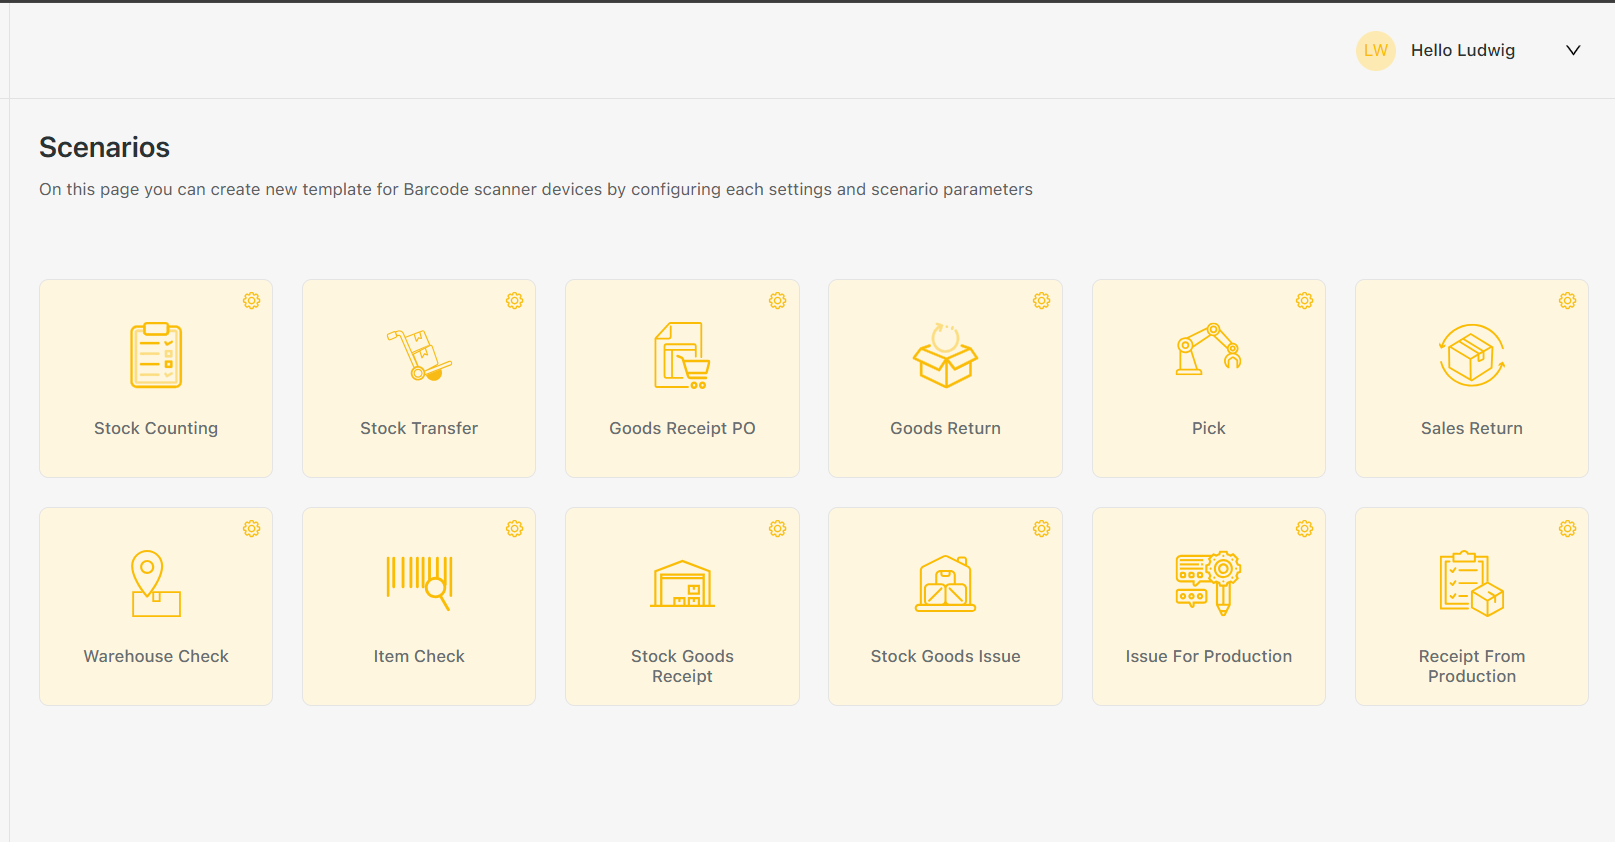
Where with simple click they can check or uncheck predefined scenarios
By pressing on setting icon
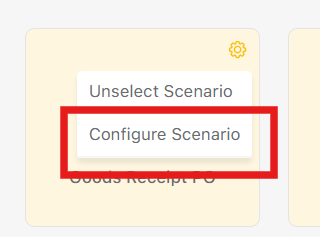
Users are able to configure details for each scenario
where again we facing tab structure
